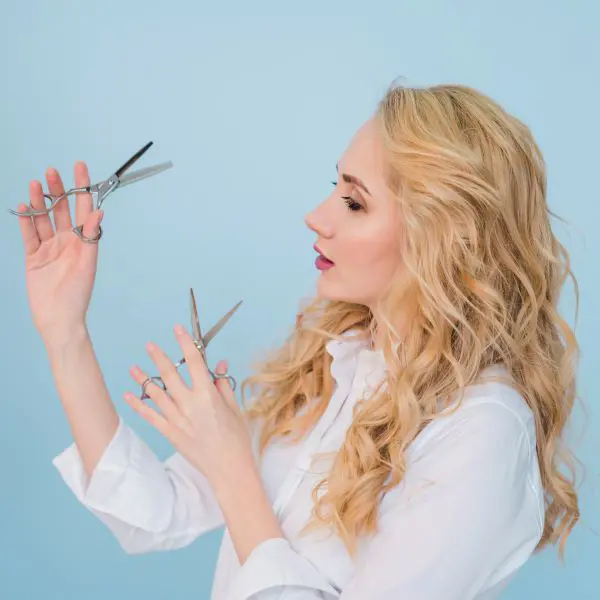
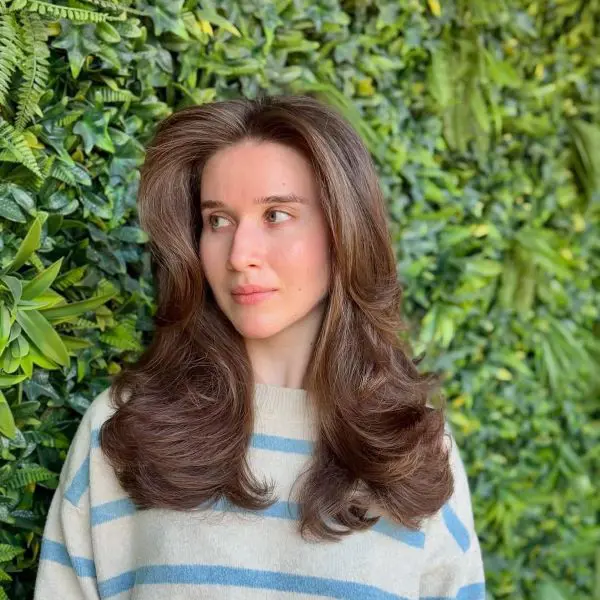
Are you someone who wants to style your look differently every season? If so, cutting your own hair may be a top-notch option for you while styling.
Economical entertainment, paired with the joy of self-chopping your hair, provides a creative outlet to experiment with different hairstyles.
With minimal practice and no need for extravagant tools, you can effortlessly achieve a variety of looks- from simple trims to layered cuts and bangs.
To make it easier, this article will guide you with the step-by-step instructions on how to cut your own hair with several styles in a matter of time.
Step 1: Gather Your Tools
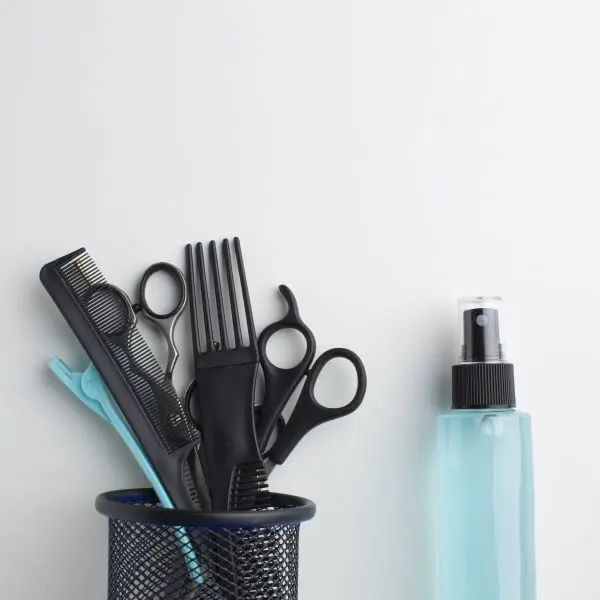
Starting to shape your hair without the right tools can lead to uneven results. That’s why gathering the proper tools is a step you should never overlook.
While collecting them, ensure you have sharp scissors-regular kitchen or fabric scissors are unsuitable for cutting hair, as they can damage the hair strands.
Additionally, you’ll need hair clips or ties for sectioning your hair. A mirror is another essential tool: a full-length mirror and a handheld mirror will provide a clear view from different angles.
Finally, a comb and a spray bottle are necessary to detangle your hair and avoid cutting it too dry.
Step 2: Prepare Your Hair

Have you ever tried cutting your dirty hair? If so, you have noticed its dull appearance and challenges to your styling.
For this reason, whenever you look for a haircut, it is essential to have clean, dry, or slightly damp hair.
However, the best option is to dampen your hair slightly, as this helps prevent cutting too much hair at once. Avoid soaking the hair completely, as this can lead to inaccurate cuts.
Once your hair is thoroughly cleaned, section it based on how much you want to cut. Generally, it’s most helpful to separate the top, sides, and back.
Clip or tie the top section so that you can focus on the bottom layers first.
Step 3: Cutting Layers
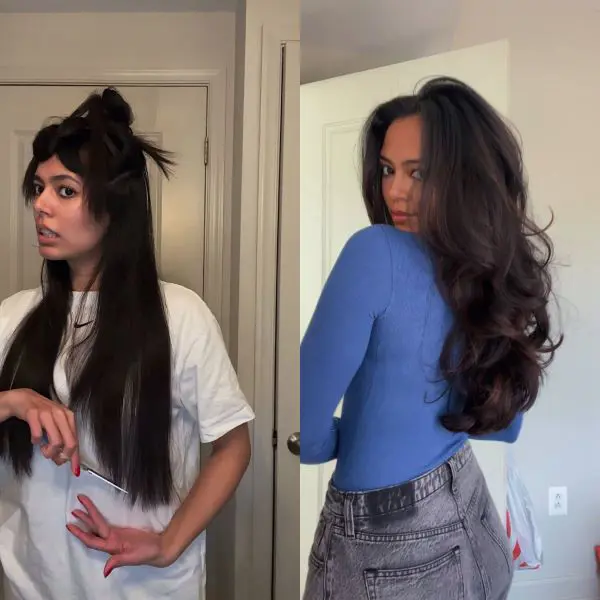
Adding layers to your hair not only enhances its look but gives it a fresh, chic vibe. Take your time to perfect each section for a polished finish. Start by sectioning your front hair near the face.
Using a fine-tooth comb, lift a section of hair vertically. Hold the section firmly at a slight angle and trim a small portion from the ends. Repeat this process for other sections to gradually build layers.
Once you've layered the front sections, move to the back. Part your hair horizontally and lift sections for trimming. Use a fine-tooth comb to lift the hair and cut at an angle to create even back layers.
Step 4: Cutting Bangs
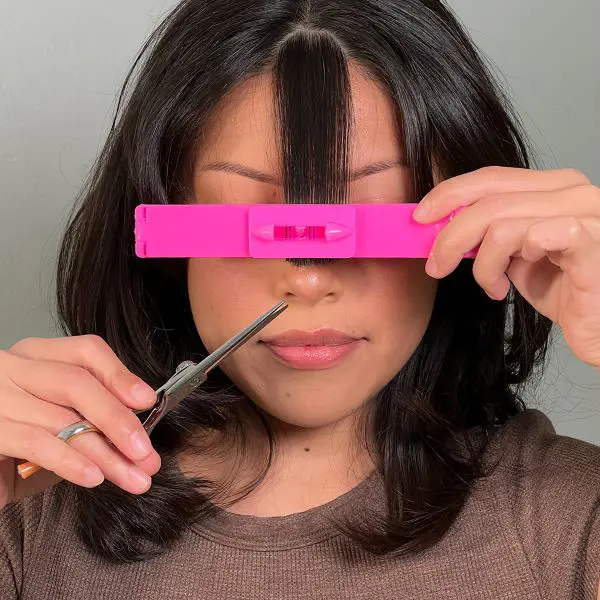
How to cut your own hair straight for bangs? Follow these simple steps. Start by parting the front section where you want your bangs to begin. Comb the hair forward and hold it straight across your forehead.
Using sharp scissors, cut slightly above the desired length to avoid going too short. Gradually trim small sections until the length is even across. Once finished, you’ll have picture-perfect bangs.
Step 5: Trimming Ends

Is your hair smooth, shiny, and free of breakage? If not, a simple haircut trimming the ends could help minimize the division of strands.
Many believe that chopping off the ends promotes healthy growth and prevents breakage.
Well-trimmed ends are also easier to style, creating a more uniform look whether curling, straightening, or styling the hair.
To achieve this, start with the bottom layers. Gently lift the parted hair section and hold it straight before trimming small segments at a time.
Avoid cutting too much too quickly, and continue trimming until the desired length is achieved.
Step 6: Creating Textured Cut

Cutting layers in your hair creates a layering effect, but for true, defined layers, there are a few additional steps. Don’t worry, you’ll soon gain the knowledge on how to layer your own hair.
Since textured cuts add depth and movement, and using point cutting or texturizing scissors can achieve a more effortless, natural look.
Achieve this layer by grabbing small sections randomly and cutting at different lengths. This approach will create a more natural, voluminous effect, as the layers blend seamlessly together.
Step 7: Blending Layers
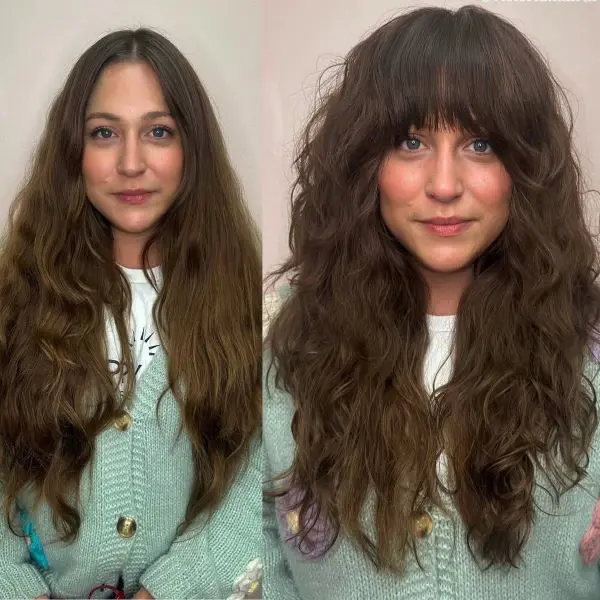
When you notice a haircut that results in messy or uneven layers, it’s likely not the desired outcome.
Similarly, layered hair may appear lifeless if the layers don't blend seamlessly with your overall hairstyle.
After each layer is cut, take the time to comb through your hair thoroughly.
Check for uneven or bulky areas, and carefully trim any spots that need adjustment for a more polished finish.
This process will rejuvenate your hair’s look, adding shine and enhancing your overall appearance- leaving a lasting impression.
Step 8: Check Symmetry

Feeling disappointed or embarrassed when a haircut turns out uneven is common. Initially, you may laugh it off, but it can evoke a range of emotions.
To overcome this, many learn to manage or fix the imbalance through adjustments.
Simply put, check the symmetry of your hair before stepping out after a cut.
With the use of a full-length mirror, hold a handheld mirror at the back of your hair.
Doing this will help you find even the slightest discrepancies of any uneven areas and assure one's more polished and balanced final look.
Step 9: Finishing Touch
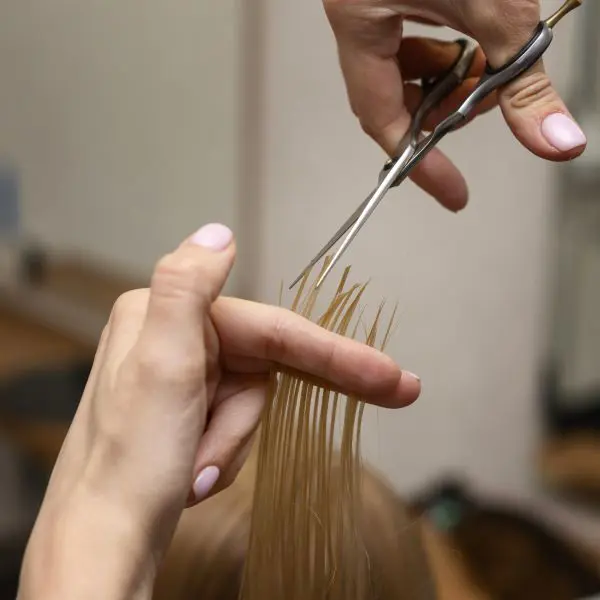
When you've completed trimming your hair to the right length, you may give the finishing touch to the overall look.
For a softer, more blended appearance, use point cutting by angle positioning the scissors and snipping off the ends in an off-the-tip motion.
This softens the edges, creating a more natural texture.
Using thinning shears or razor cutting techniques helps create movement in the hair, effectively reducing bulk in thicker areas for a more effortless and polished result.
Step 10: After-Care

When you give yourself a haircut, styling your hair with blow-drying or straightening can help assess any last-minute adjustments.
However, it’s essential not to overdo heat styling or frequent layer trims. Maintaining a balance is key.
Limit heat usage, keep trims reasonable, and use protective products like heat protectants and moisturizing treatments.
For optimal maintenance, regular trims every 6-8 weeks can help maintain the shape and prevent split ends.
Why Cut Your Hair At Home?

Cutting your hair at home is much more than just money saving; it has lots of advantages. Here are the reasons which make people go for haircuts at home instead of visiting salons.
-
Convenience
The flexibility with which you can schedule it without having to wait on someone's appointment or time to travel is tremendous.
This facilitates you to cut your own hair short any time and any place.
-
Flexibility
Cutting one's hair by oneself puts an inevitable personal touch, which cannot be rivaled by anyone.
You control the design, length, and layers entirely, assuring the outcome gets matched precisely to your taste.
If adjustments are needed, there’s no need to compromise with a stylist’s approach.
-
Creative Freedom
Home haircuts allow for greater creativity. You’re not restricted by someone else’s vision, making the process more experimental and unique.

-
Boosting Confidence
Successfully achieving a self-chop can boost confidence and give a sense of accomplishment.
-
Reducing Product Usage
Home haircuts eliminate the need for excessive spending on stylist products to maintain a look between salon visits.
Additional Tips For Specific Hair Types
Cutting different hair types requires specific techniques to achieve the desired look.
Straight Hair
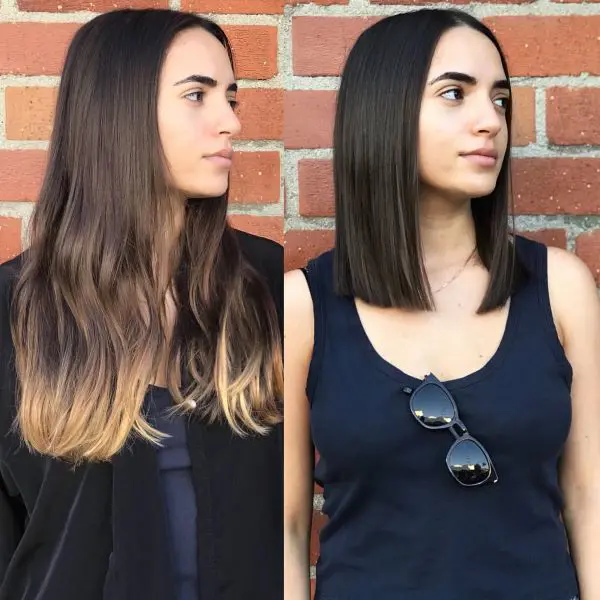
Straight hair is relatively easy to cut since it lacks curl or wave patterns, allowing for gradual trimming with a focus on softening the ends using point cutting for a more natural finish.
Curly Hair
Apart from curly hair that reduces in size once it dries, this hair type should be cut while still wet or slightly damp to counter act any bounce back effect after being cut.
Avoid thinning as this move may adversely affect the curl pattern. Instead, opt for careful trimming to preserve the texture and maintain a natural, fluid look.
Wavy Hair
Wavy hair benefits from layered cuts to enhance movement and volume.
Vertical sections and point cutting help maintain the natural wave patterns without creating blunt edges.
Long Hair

Long hair requires careful trimming to prevent unevenness, with small amounts cut from the bottom to maintain length while ensuring an even cut.
Short Haircuts
Short haircuts need precision to maintain symmetry and structure.
Regular trims are crucial for short styles, and working slowly in small sections helps keep the cut clean and balanced.
Common Mistakes To Avoid
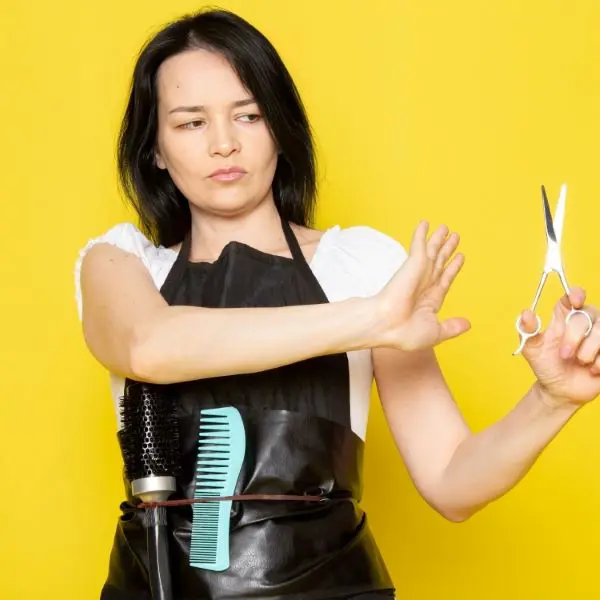
Self-haircutting demands precision and keen attention to detail to avoid common mistakes that might lead to uneven or undesirable results.
Using Dull Or Incorrect Tools
Additionally, using dull or incorrect tools, such as kitchen scissors, can create uneven cuts and split ends.
Professional-grade hair-cutting scissors or shears designed specifically for hair are essential for achieving clean, precise cuts.
Cutting Hair While Soaking Wet
Additionally, cutting hair while soaking wet often leads to shorter lengths after drying, so trimming damp or dry hair ensures accuracy.
Over-Thinning Thick Hair
Over-thinning thick hair can also weaken the ends and create an uneven shape, so thinning shears should be used sparingly.
Attempting Advanced Cuts
Finally, attempting advanced cuts without practice, such as fades or complicated styles, can result in disastrous outcomes.

Key Takeaways
Don’t rush the process. Take breaks if needed, especially for longer or more intricate cuts.
Embrace techniques tailored to your hair type; straight, curly, thick, or fine- to achieve optimal results without causing damage.
A DIY haircut doesn’t need to match a salon-quality finish to be satisfying.
As long as it’s done thoughtfully and adjusted to suit your preferences, it can look just as impressive and leave you feeling confident.
If something feels off or too complicated, stop and reassess rather than making drastic cuts.
Gather high-quality tools and set up a proper workspace with good lighting and mirrors.
Decide on the style you want beforehand, and watch tutorials if needed to understand the steps.


