Having a full understanding of makeup is a challenging journey. While professionals can effortlessly master bronzer, beginners often face difficulties.
When applying bronzer, it’s essential to consider factors such as placement and skin type. Neglecting these aspects can lead to patchiness, muddiness, or an overly orange finish.
To avoid these issues, refine your techniques and ensure proper application. Doing so will help you achieve a flawless look.
Despite its complexity, getting it right can add warmth, dimension and glow to your skin. With the right techniques, bronzer becomes a versatile tool for enhancing natural beauty.
What Is Bronzer?
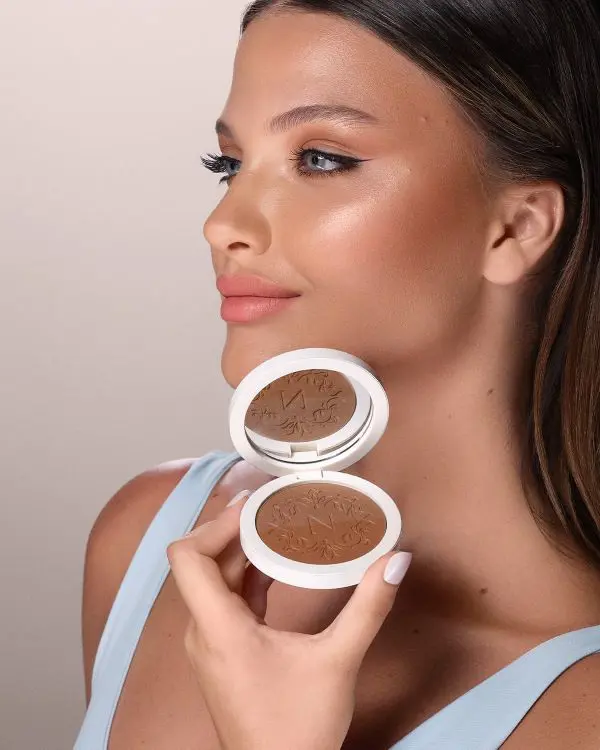
A bronzer is your shortcut toward dewy beautiful skin with lighten hue and light reflectors.
This beauty staple not only complements but also creates depth on the face by craving out cheekbones and outlining other features.
Whether in powder, cream, or liquid form, it works for all seasons to brighten dull skin and adjust to changing tones, leaving a smooth, radiant texture that boosts your confidence effortlessly.
Now, let’s explore how to apply bronzer effectively.
Step 1: Choose The Right Shade
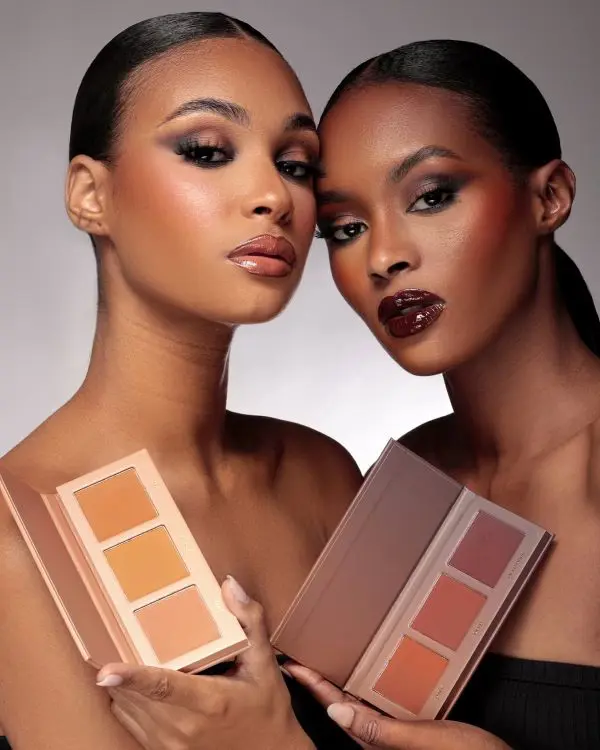
Before wearing bronzer, it’s essential to choose the right shade for your skin. While it can be challenging, choosing wisely will help you achieve the desired effect without unnecessary worries.
Initially, the right bronzer should be selected from one to two shades darker as compared to your skin color.
If the color is too dark or gone overly orange then it spoils the natural look and feels like having been painted.
The type of bronzer you use should also vary depending on the time of day. During the day, opt for a matte bronzer to achieve a subtle, natural tan.
While an evening event requires a bronzer with a touch of sparkle to give your face the vaunted ‘glow’ and depth.
Step 2: Gather Your Tools
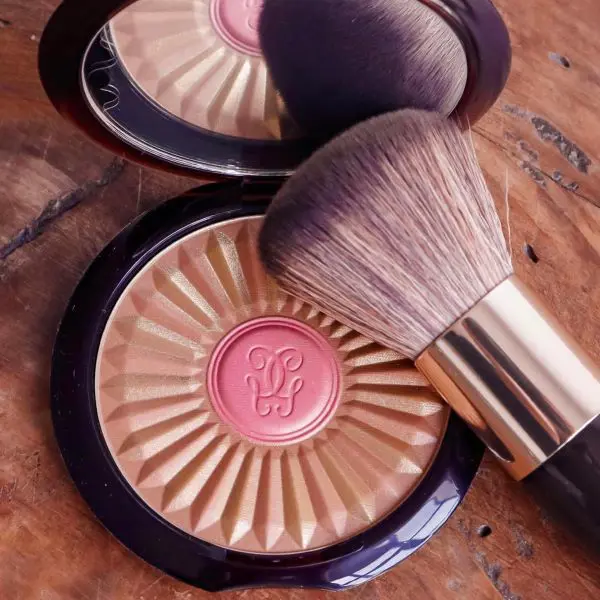
No matter how hard you try, without the right tools you can never get a finished look. Therefore, gather your essentials before you start blending.
A fluffy, angled brush is ideal for applying bronzer because it provides both precision and ease of blending. The angled design helps contour your face naturally, while the soft bristles ensure even distribution of product.
Thus, remember to wash your brushes regularly with a gentle cleanser and allow them to dry completely to maintain their effectiveness and hygiene.
Step 3: Apply To Key Areas
If you’re wondering where to apply bronzer, it should be focused on areas where the sun naturally hits your face. Below is a detailed guide on key areas for bronzer application:
A: Cheekbones
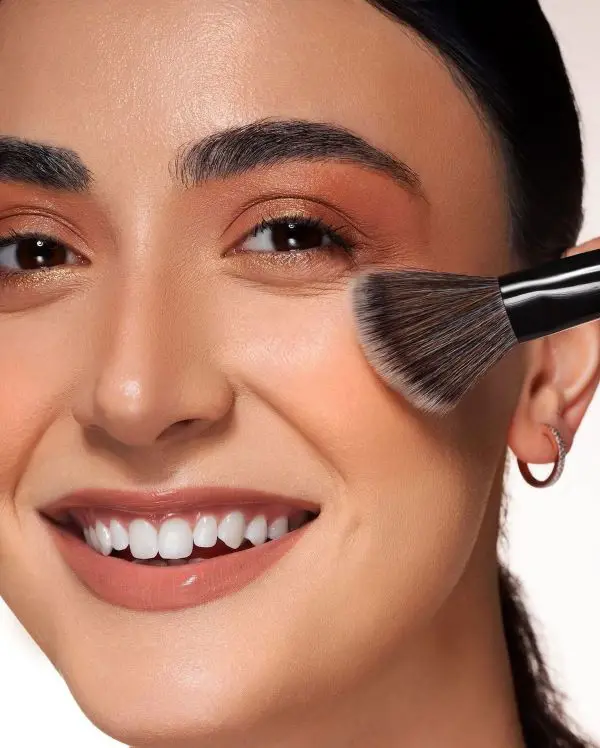
For the purpose of defining and mapping, makeup bronzer is applied on the cheekbones. First of all, dip the brush into the bronzer and slightly knock off the excess bronzer onto the top of the lid.
Lightly sweep the bronzer along the hollows of your cheeks, just below the cheekbone line. This technique enhances the shape of your face.
Use upward brush movements to lift the face and prevent a flat appearance.
A perfect mix of both parts guarantees the contours of your cheeks to look quite enhanced and as if they were produced by motherly nature.
B: Forehead
Applying bronzer to your forehead creates the appearance of a natural sun-kissed tan.
Start by gently tapping bronzer on the upper part of the forehead, near the hairline, and gradually blend it down toward the temples.
Focus on areas where the sun naturally hits, such as the center of the forehead and along the edges.
This technique gives the skin a bronzed, smooth finish without appearing overly artificial.
Ensure seamless blending at the hairline to avoid visible lines where the bronzer meets your natural skin tone. Proper blending is key to achieving a flawless and natural look.
C: Nose
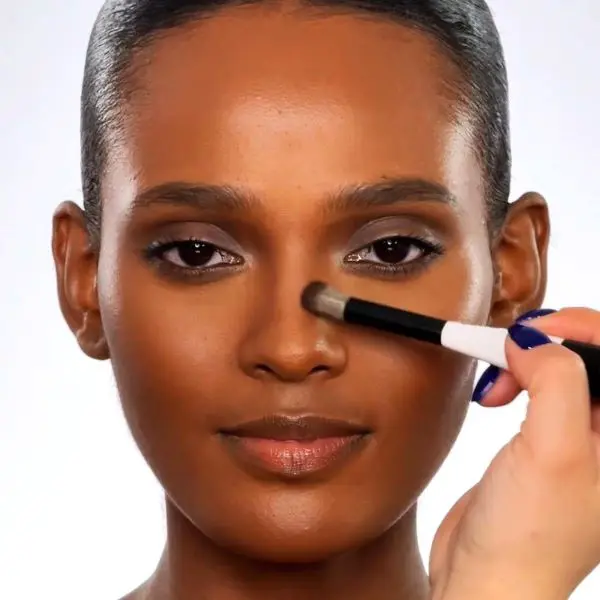
Get the illusion of a slimmer nose by applying bronzer to the sides of the nose using a small, precise brush or a soft, tapered brush designed for detailed work.
Lightly sweep the bronzer along the sides of your nose and around the tip for subtle definition. The key is to blend thoroughly, ensuring a polished and seamless finish without harsh lines.
Therefore, this technique enhances your facial proportions while maintaining a natural look.
D: Jawline
With bronzer, you can accentuate your jawline or make one where there is none as in the case of those with a round face.
Begin with the bronzer near to the jaw line and you can use a hard brush or contour brush. This technique provides structure and helps even out the overall distribution of your face.
Ensure the transition is smooth, avoiding sharp edges that could disrupt the natural flow of your facial features.
Proper blending will give your jawline a well-chiseled appearance without looking overdone, adding a refined touch that accentuates the natural angles you desire.
E: Temple
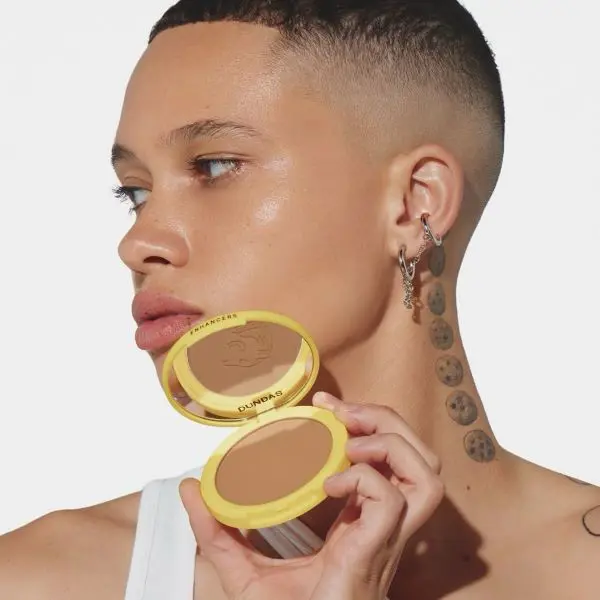
Applying bronzer to your temples saves time and creates a cohesive effect that ties together your face.
Swirl bronzer lightly on the temporal areas, blending where the sun naturally falls on the skin. This gives a natural look that enhances other bronzed areas of the face.
When applied well along the hairline and surrounding areas, the result is seamless, giving your skin a natural glow.
The temples serve as the finishing touch, creating a holistic, sun-kissed appearance that adds depth to your overall makeup.
Step 4: Blend It Seamlessly
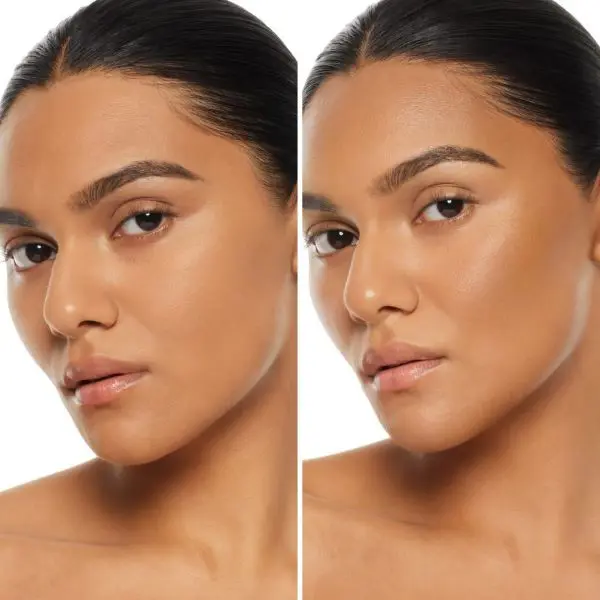
When it comes to using bronzer, blending is essential for a flawless application. Apply in circular motions to soften any edges and ensure the product seamlessly merges with your foundation or bare skin.
This step is crucial for achieving a smooth finish, preventing a patchy or cakey look. The ultimate goal is a balanced and coordinated appearance.
If you’re not sure about something just stop and assess your makeup in front of a mirror with a good light source.
Step 5: Check In Natural Light
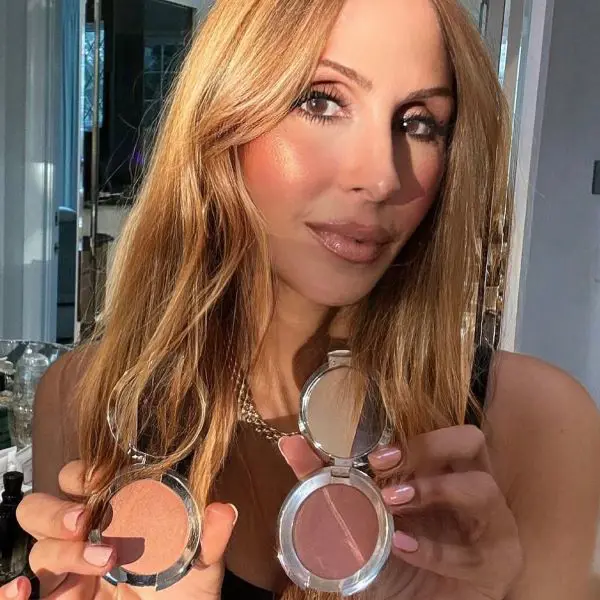
Always check your makeup in natural light to ensure your bronzer looks natural and even. Indoor lighting can sometimes distort colors, making it harder to spot imperfections.
Step near a window or go outside to assess your makeup’s appearance under natural light. If you see any areas that look too much or uneven use a clean brush or makeup sponge to soften.
This simple step can make a significant difference in the final look, helping you avoid a heavy-handed application and ensuring your glow looks effortless.
Bonus Tips For A Prefect Glow
-
Layering Bronzer With Other Products
Begin your makeup routine with a hydrating or illuminating primer to create a smooth base. Follow this by applying a foundation for a natural finish.
When applying bronzer you do not need to apply heavy makeup on your face, you can go for a foundation or a tinted moisturizer.
Moreover, applying bronzer together with light-colored highlighter will complement each other, providing a proper amount of glowing effect which is ideally suitable for creating a stylish look.
-
Customizing The Finish For Your Skin Type
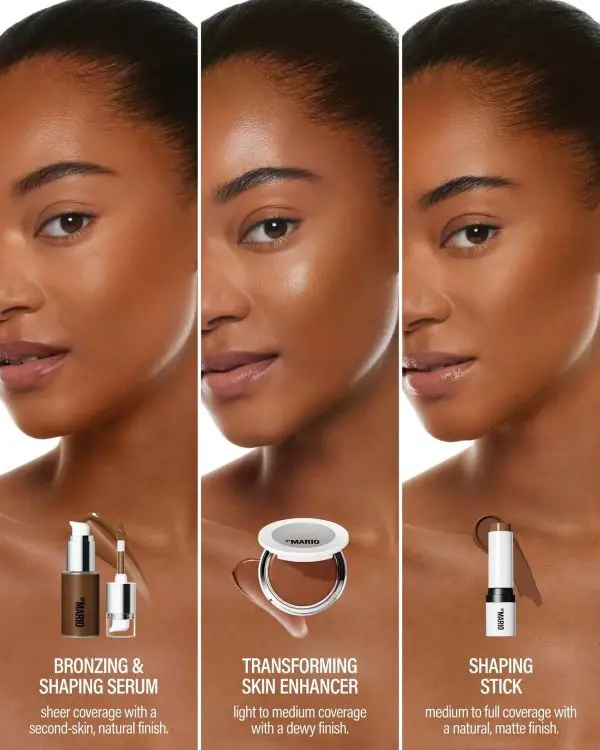
For oily skin, use a matte bronzer to control shine and prevent excess oil from disrupting the application throughout the day. For a dewy, luminous finish, opt for creamy or liquid bronzers.
Complete your look with a light setting spray for added hydration and long-lasting wear.
-
Refreshing Bronzer Throughout The Day
For a fresh glow, lightly reapply bronzer in the afternoon focusing on areas where product may have worn off. Use a small brush for precision without upsetting the rest of your makeup.
-
Transitioning Bronzer Between Seasons
During colder months, tone down bronze for a more subtle warmth, opting for neutral or cooler shades. In summer, go for deeper, warm tones to mimic a natural tan.
-
Bronzer For Photographic And HD Makeup
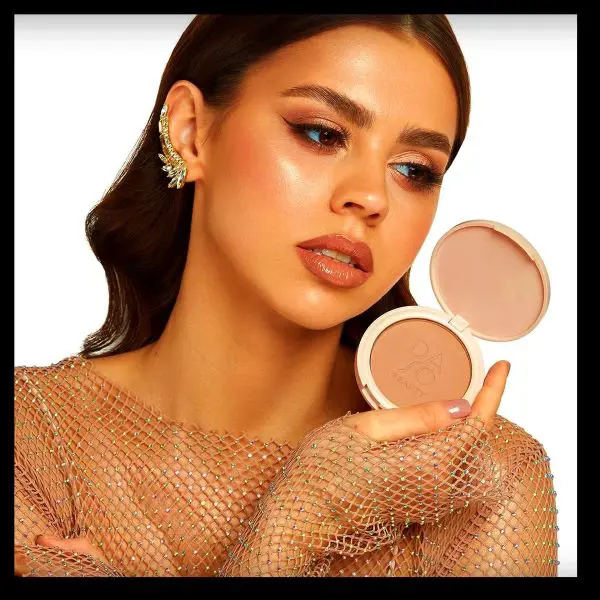
Matte bronzers work best for photography, as shimmers or luminous bronzers may reflect flash and create a white cast in photography.
For photos, meticulous blending is a key to ensuring that bronzer looks natural and camera-ready.
Common Mistakes To Avoid
-
Choosing The Wrong Shade
A mismatched bronzer can create a fake or artificial appearance. For example a bronzer with orange undertones may make fair skin look patchy, while a grey or ashy shade can make deeper skin look dull.
Therefore, choose a bronzer with a shade that matches your undertone; warm for golden undertones, cool for pink or neutral undertones.
-
Poor Blending
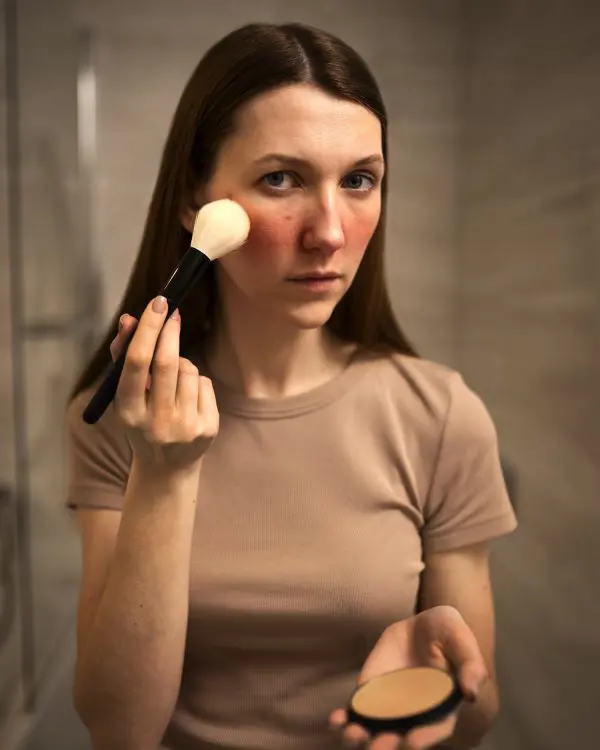
Unblended bronzer can make the face look unnatural and splotchy, as it accentuates imperfections or unwanted areas without creating a cohesive, smooth finish.
For this reason, one should use a clean fluffy brush and avoid harsh strokes.
-
Overlooking Skin Texture And Tone
Not considering skin texture, such as acne, blemishes, or uneven skin tone, can lead to magnifying imperfections rather than enhancing natural features. Also, incorrect application can exaggerate flaws.
-
Not Considering Face Shape And Placement
Without tailoring the application to face shape, bronzer can make certain areas appear overly shadowed or emphasize areas less favourably.
Hence, customize bronzer placement based on your face shape- highlighting areas of key application, while avoiding overly broad application on areas where bronzer may flatten features.
Difference Between Bronzer And Contour
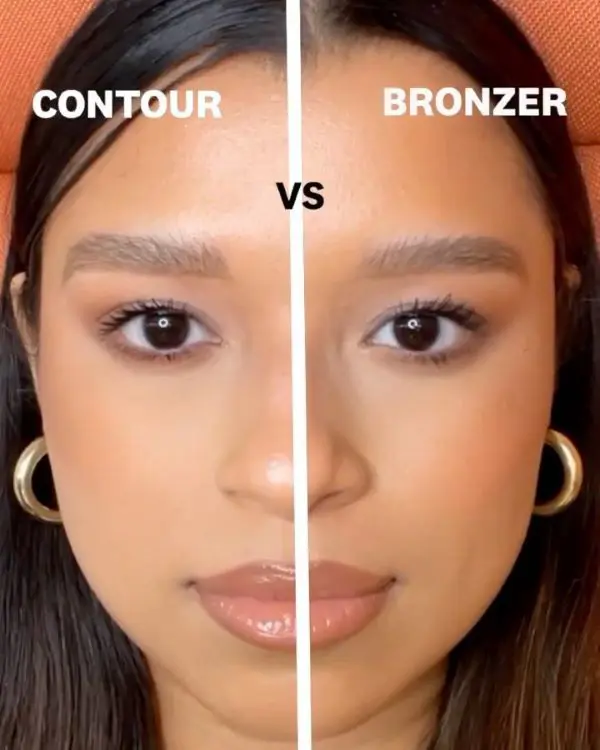
Let's dive straight to the difference between contour and bronzer.
Contour defines and sculpts the face by creating shadows and depth. It emphasizes the natural shadows of the face to shape and structure features.
When discussing shades, contour typically has cool-toned shades with grey, taupe, or neutral undertones.
Meanwhile, bronzer adds warmth and radiance to the skin. It focuses on enhancing the overall complexion, providing a healthy, warm appearance.
Bronzer usually features warm-toned shades with golden, peachy, or reddish undertones.
Things To Be Considered
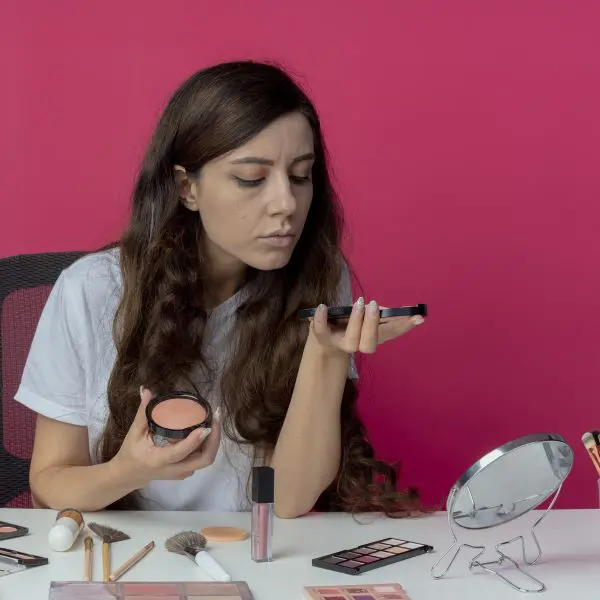
Patch Testing: Carry out a patch test first before you apply the bronzer to prevent any allergic reactions or irritation on the skin.
Take Skin Sensitivity Into Consideration: Apply pale bronzer if you ever have weaknesses against hypoallergenic or fragrance-free products.
Sort Expiration Dates: Make sure bronzer has an appropriate expiration date since old makeup can often lead to skin problems or infections.
Sun Protection: Though it looks as though bronzer will offer you that sun-kissed look, it should always be combined with sunscreen, which protects your skin from harmful UV rays.
Do Not Sleep With Bronzer: Always take off bronzer before bedtime so that it does not become a clogged pores trouble or skin irritation source.
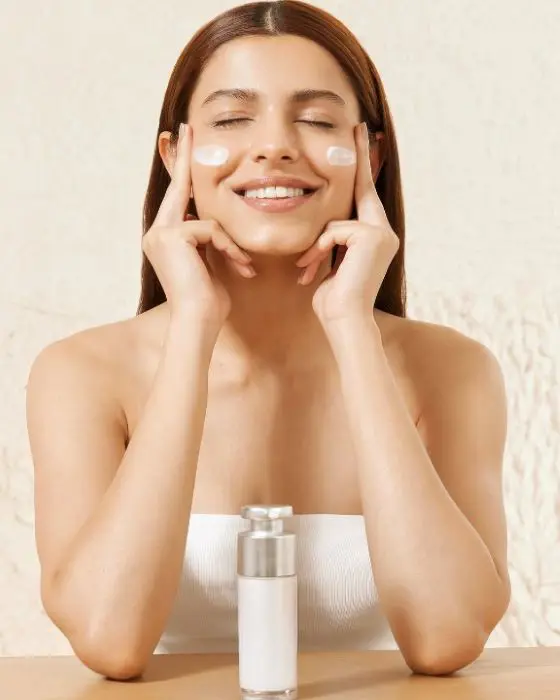
Follow with a nourishing night cream or serum that is designed to repair and rejuvenate your skin overnight, or just continue with your skincare routine.
Watch Out For Skin Reactions: Monitor your skin after using bronzer. If you notice redness, irritation, or discomfort, adjust the bronzer or your application method accordingly.


