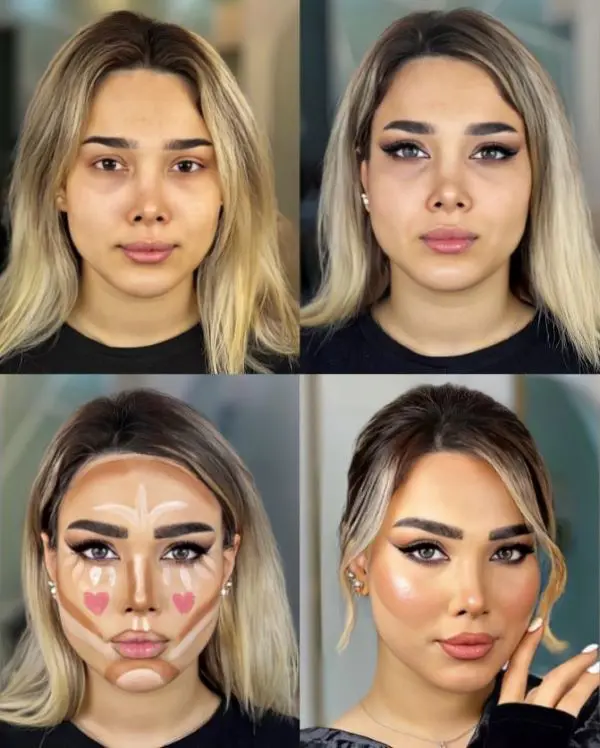
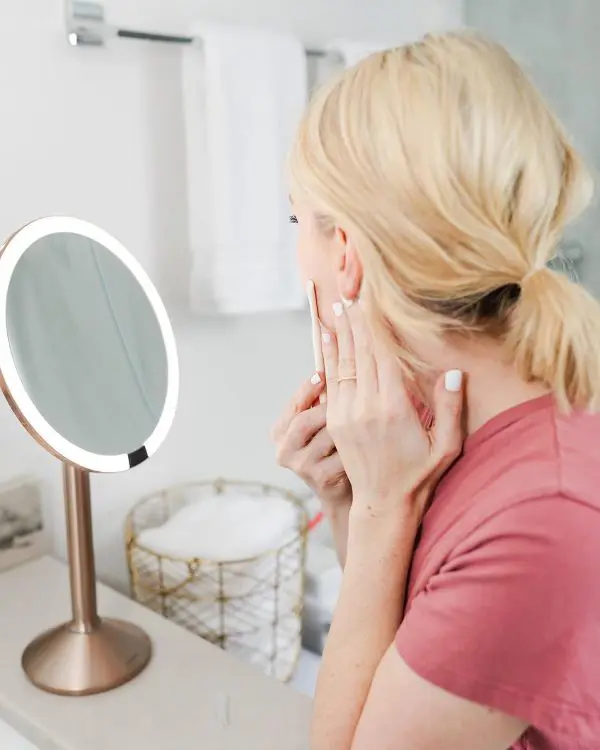
A perfectly crafted makeup look can elevate a woman's charm and allure. Makeup enhances her natural beauty with a flawless combination of contouring and highlighting.
When put together, these techniques transform an ordinary makeup look into something extraordinary. These techniques further emphasise facial features and ensures a polished, well-balanced appearance.
Using the right products and techniques, contouring and highlighting become tools of empowerment, allowing women to feel confident and captivating for any occasion.
In this article, you’ll find detailed steps on applying makeup, selecting contouring products, and following an essential care routine.
What Is Contouring And Highlighting?
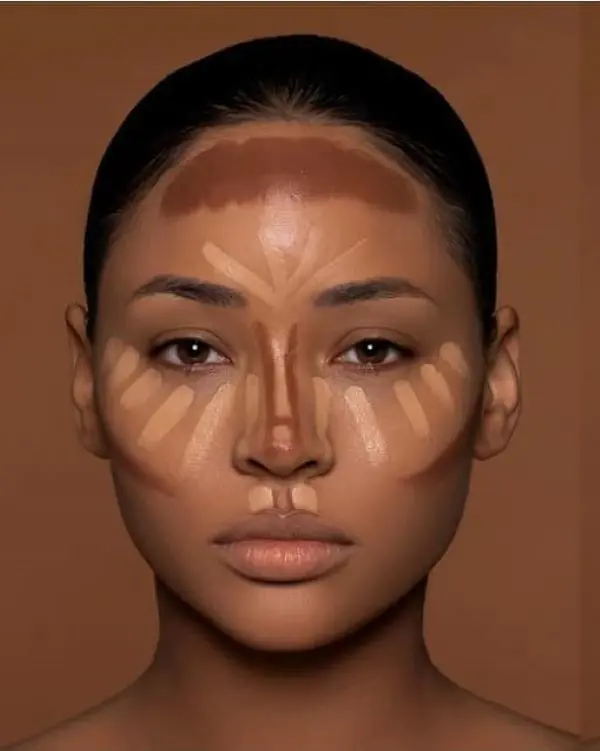
Basically contouring is the process of shaping your face by using darker shades to add a shadow effect. This technique enhances natural contours like cheekbones, slims features, and adds structure.
Whether for casual outings or glamorous events, contouring is a versatile way to elevate your look.
On the other hand, highlighting makes your complexion appear brighter by illuminating and simply catching light.
When applied to areas such as brow bone, cheekbones and nose bridge, the skin is provided with a glowing effect.
It is basically the process of adding sheen to the skin; that works marvelously with contouring by providing the skin with that extra pop and definitely an even skin tone.
Read on for a guide to applying highlight and contour effectively.
Step 1. Gather Your Tools And Products

Before applying make-up, ensure everything is fully prepared and get all the tools and products ready.
Begin with a foundation that matches your skin tone to create a clean, even canvas.
For this, use a highlighter with color that is closest to being one or two shades lighter than your skin tone to give the face that perks up.
When defining your features, use a contour product in either cream or powder form, ensuring it is one or two shades darker than your skin tone.
For best results, choose the right applicators: soft, dense brushes or beauty sponges work well to spread the product evenly across your skin.
To ensure long-lasting makeup, finish with a translucent powder to mattify the shiny T-zone or use a setting spray.
This final step not only enhances the durability of your makeup but is also budget-friendly, making it a practical addition to your routine.
Step 2: Prep Your Skin
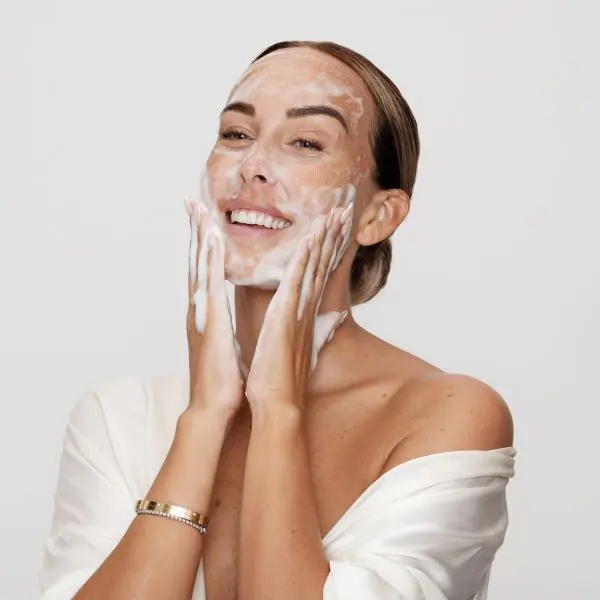
Your wonderful makeup base preparation begins with cleansing your face , followed by moisturization. Cleansing clears the skin of debris, oils and makeup traces in order to prepare the skin for makeup.
The next step is application of a light moisturizer that moistens the skin and makes its surface as unified as possible for the make up. After that the use of a primer that is used to extend the durability of the make up you apply.
A primer acts as a base, filling in pores, smoothing skin texture, and forming a barrier between your skin and makeup to keep it in place all day.
Depending on your skin type or concerns, you can choose from mattifying, hydrating, or color-correcting primers. It ensures even application and minimizes or settles fine lines.
Step 3: Apply Foundation

Without delving into the question of how to contour and highlight face, let’s focus on selecting a foundation that perfectly matches your skin tone for a flawless look.
Begin by taking a little product and apply it to the center of your face, mostly the problem areas like the cheeks, forehead, and the nose.
Try to build its coverage up gradually rather than trying to apply large amounts of it at one go.
Now, this is where blending comes into place. Using a foundation brush or a sponge, blend outward toward the hairline and jawline for a seamless finish.
To get a natural, bright finish, opt for the damp beauty sponge while to get precise coverage use the brush.
Step 4: Hightlight Your Key Areas
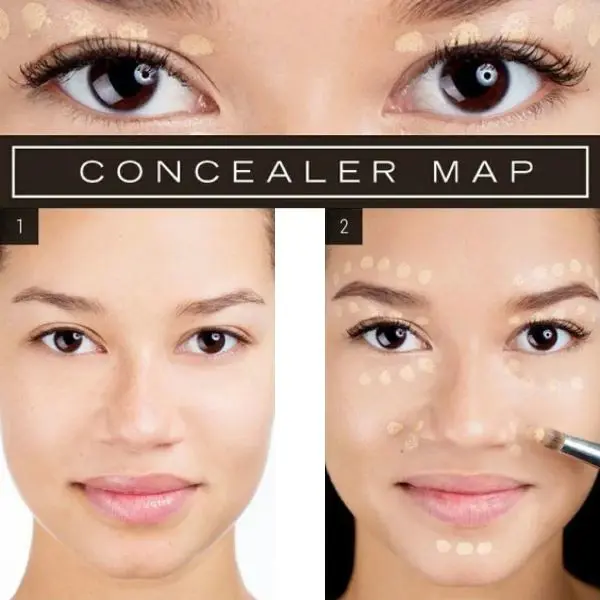
To emphasize and brighten specific areas of your face, apply a light concealer or highlighter. Focus on areas you want to bring forward such as the T-zone, tops of your cheekbones, and under the eyes.
As highlighting adds dimension and draws attention to key facial features, enhancing your natural beauty while maintaining a polished , radiant appearance.
For how to highlight your face, use a brush to even out the product. Light, tapping motions help maintain the brightness while ensuring a smooth, natural finish.
Proper blending prevents harsh lines and allows the highlight to seamlessly integrate with your overall makeup look, creating a lifted, luminous effect.
Step 5: Contour Your Face

Do you want to know how to contour your face? As another step to achieve a well-contoured face, reach for a contour product to sculpt out specific features on the face.
Common areas for contouring include the hollows of your cheeks, just below the cheekbones. Additionally apply to the sides of your nose, along the jawlines, and along your temples and hairlines for a balanced, dimensional effect.
Since, it is a versatile technique that allows you to customize your look by emphasizing natural features and enhancing your overall facial structure for a more balanced and refined appearance.
Step 6: Blend Everything
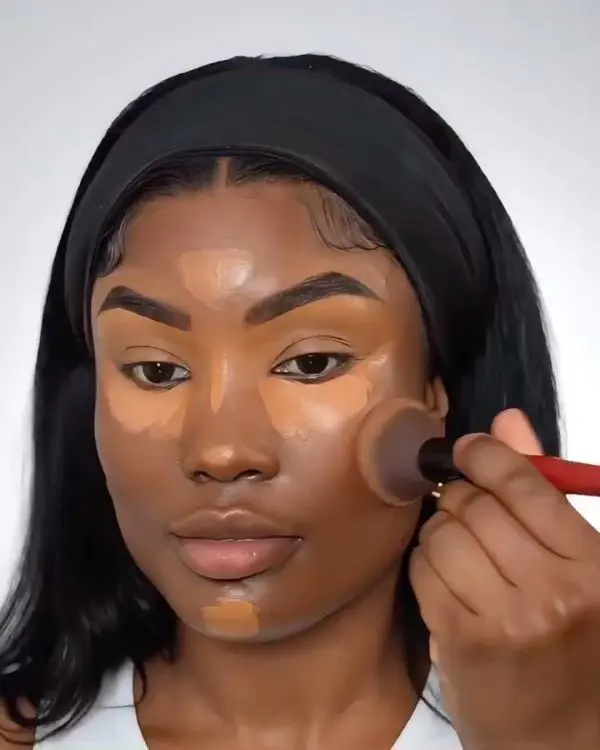
Blending is essential for creating a polished, seamless makeup ook. After applying your foundation, highlight, and contour, take a clean sponge or brush to blend everything together.
Gently tap or buff the areas where products meet- like the edges of your highlight and contour; so they transition smoothly into your foundation.
This step ensures there are no harsh lines or visible product boundaries, creating a natural, cohesive appearance.
Proper blending also helps to maintain a balanced look, enhancing the overall finish of your makeup.
Step 7: Set Your Makeup
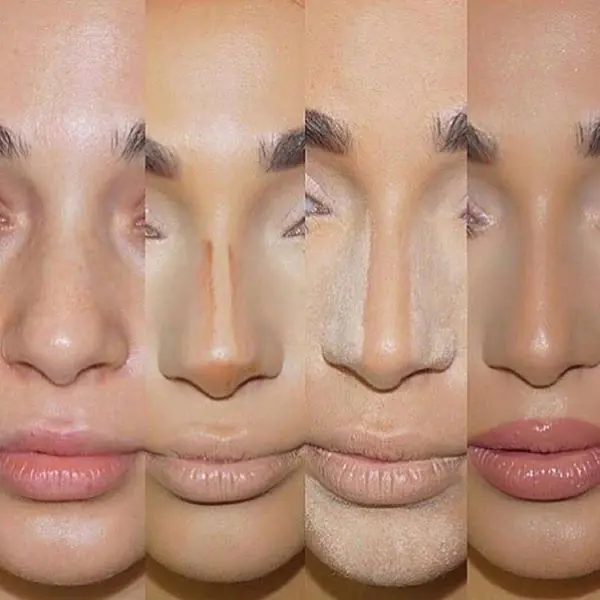
Locking your makeup is crucial if you want to avoid a lot of creasing and have your makeup stay in place for as long as possible.
Following blurring, use a setting powder in the color of your skin tone to areas that are usually susceptible to creasing, for example under the eyes, sides of the nose, and the chin.
Lastly, apply a sealer spray, which firmly sets everything in place while imparting a sheer, blur-like shine.
This combination helps keep your skin matte and grease-free, making it ideal for active days or hot climates while ensuring your makeup stays flawless.
Step 8: Add Finishing Touches

After applying your base makeup, add finishing touches to refine your overall look.
A blush brings a healthy flush to your cheeks, a warm bronzer adds depth, and a highlighter enhances your natural glow.
Together, these products help shape and balance your facial features, complementing your makeup look.
Next one's eyes - by either curling lashes or applying eye color, mascara brightens and define the eyes.
The lips get their own make-over by adding a lipstick or gloss that goes with the entire look. These finalizations will put everything together with your features moored to a neat, natural finish.
How To Choose Right Product?
Well, choosing the right products for contouring can enhance your natural features and create a well-defined look. Here are some steps to help you select the best products.
Determine Your Skin Tone

Begin by identifying your skin tone. Contour shades are pretty categorically 1 to 2 shades darker than your skin undertone.
For fair skin it is best advised to stick with cool contours with light to slightly cool undertones. For medium to deep skin tones, warm, bronze-based shades work best.
Select a shade that complements your natural undertones.
Choose the Right Formula

Powder: Ideal for beginners and those with oily skin, offering a matte finish and easy blendability.
Cream: Perfect for dry skin, providing a natural, dewy finish with excellent blendability.
Liquid: Offers a buildable, versatile application for a soft, seamless finish.
Consider the Undertones

Cool-Toned: Best for sculpting with grayish or ashy shades.
Warm-Toned: Ideal for deeper skin tones or those looking for a sun-kissed effect.
Neutral Tones: Suitable for a balanced, natural definition on most skin tones.
Aftercare Tips
After knowing where to highlight and contour with a makeup idea, it’s important to know what the aftercare tips.
-
Remove Makeup Gently

The first thing that has to be done in the aftercare process is careful facial make up removal.
The gentle makeup remover or the micellar water goes a long way to ensure that each section of the face, from the foundation right to the highlight, is clean.
Do not scratch or rub the area roughly or wash the area vigorously, since this causes the skin to become raw and start developing pimples.
Use a soft cotton pad or washcloth instead, and instead of rubbing, move your finger in circular movements to get the product off with ease.
-
Cleanse and Nourish
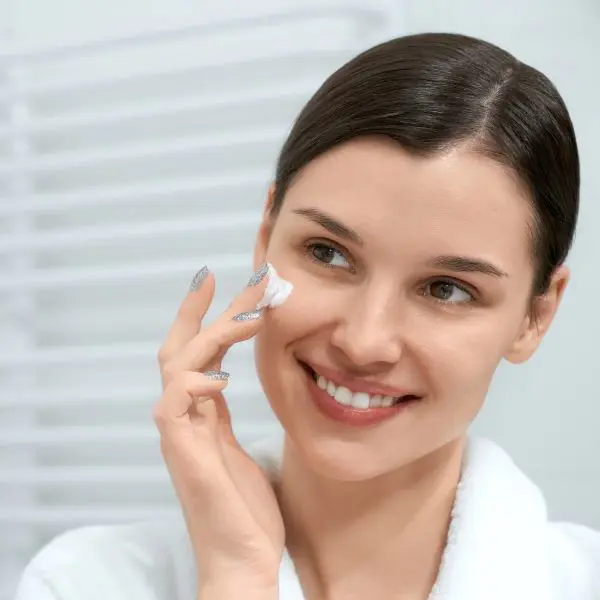
Follow removing traces of makeup by washing your face with a mild facial cleanser depending on the skin type.
This stage helps eliminate the remaining oils, dirt, and impurities that clogs the pores. Then, slather on a hydrating moisturizer to your skin to restore its natural moisture barrier after cleansing.
This is especially important when using products like cream or liquid contour and highlight, which can sometimes leave the skin feeling dry.
-
Exfoliate Regularly
Exfoliation is an important part of skin care if one is to keep getting that fresh, flawless look on the skin.
Involuntary brushing off of the skin helps to eliminate the precipitation of dead skin cells which works as a base for lending increased efficacy to the application of cosmetics and skincare products.
Try to do it 1-2 times a week, use mild scrub for your skin type, because if you don’t do it, the dead skin cells will interfere with the proper application of makeup and mixture of contour and highlight shades.
-
Hydration and Protection

Moisturising is very important especially after applying a product that may cause the skin to become dry especially around the under eye area or cheek area when applying highlighter.
So, make sure you are taking lots of water daily – this will help your skin to become healthy again from inside.
Also, use broad-spectrum sunscreen every day to keep your skin safe from UV Rays that actually damage your skin prematurely, leading to aging and destruction caused by makeup products.
-
Avoid Sleeping with Makeup On
Sleeping with makeup on can result in puffy cheeks and small red pimples due to clogged pores and skin irritation. To avoid these issues, always wash your face thoroughly before bed.
For thorough makeup removal, always use a gentle soap or cleansing balm. These products help prevent contour and highlight products from settling into fine lines or exacerbating skin issues overnight.
Monitor Skin Reactions

Makeup responds to everyone in different ways, depending on the skin type and the physiology of the body.
The person should stop using contour and highlight if there were complaints like redness, irritation, or pain.
Test small amounts of the product on a less sensitive area or consult a dermatologist for suitable recommendations.
-
Rest and Recovery
Allow your skin to breathe in between applications by giving it enough time without make-up.
This simply means treating the skin with a more effective antidote to possible irritation caused by make-up buildup.
Skincare, meanwhile, provides vital nourishment for healthy skin, especially among users of make-up who cleanse and enrich with nutrients in their skin.
Proper skincare routine ensures your contour and highlight work effectively while promoting overall skin health, preventing long-term damage.
Summary
Indeed, you can achieve a stunning artistic look by following instructions and using the right tools.
A touch of shading and highlighting with contour and highlight can transform your makeup into a masterpiece.


