Improving your proficiency on how to apply eyeliner with precision can transform your overall makeup style and highlight the natural elegance of your eyes.
Whether you’re just a starter exploring the basics, an intermediate enthusiast honing your skills, or a seasoned pro perfecting your technique, having the right tools and approach makes all the difference.
This guide will take you through the different types of eyeliners, detailed application methods, tips for various skill levels, and solutions for common mishaps.
Let’s dive right in!
A Guide To Eyeliner Application
Read on to know how to apply eyeliner step-by-step.
Step 1: Prepare Your Eyes
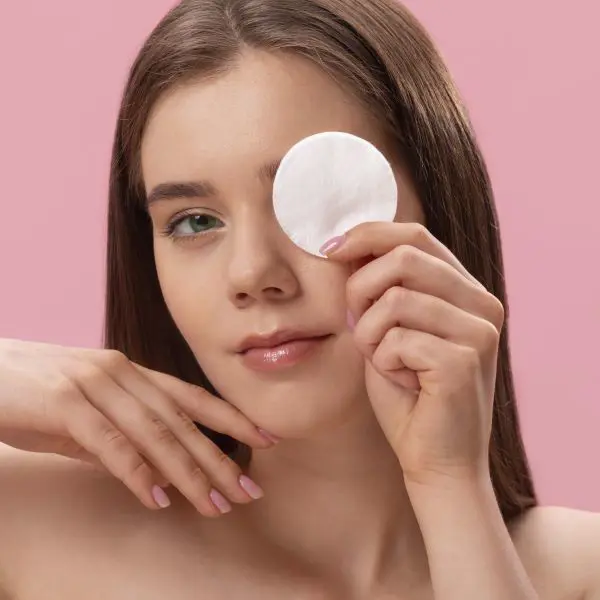
For all-day eyeliner wear, regardless of the type, it’s best to start with a blank canvas. Wash your face lightly with a mild facial wash or a reliable makeup remover.
It will build up a great surface for easy, durable spreading on the enlarged scalps.
Next, apply eye cream, especially primer to create a smooth canvas for the eyeliners, helping it last longer without smudging.
Set the primer with translucent powder to give a matte finish and ensure that the eyeliner glides on smoothly.
Step 2: Choose Your Style
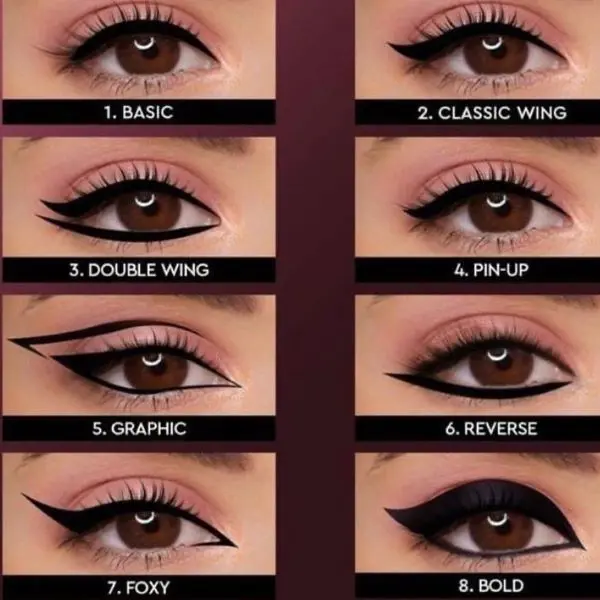
Whether you're unsure how to apply eyeliner to hooded eyes or deciding on the right style, the key is to think about the overall look you're aiming for and choose an eyeliner design that complements it.
A simple line enhances the eyes sultry, a winged look adds drama and definition, and a smoky effect gives a more sultry, blended appearance.
Therefore, tailor your eyeliner style to match your makeup and outfit. But if you’re going for a bold eye look, keep the rest of your makeup more neutral, or balance it out by creating soft lips.
Step 3: Start With Small Strokes
Instead of drawing a single long line, create small, connected strokes. This provides better control and reduces the chances of unevenness or mistakes.
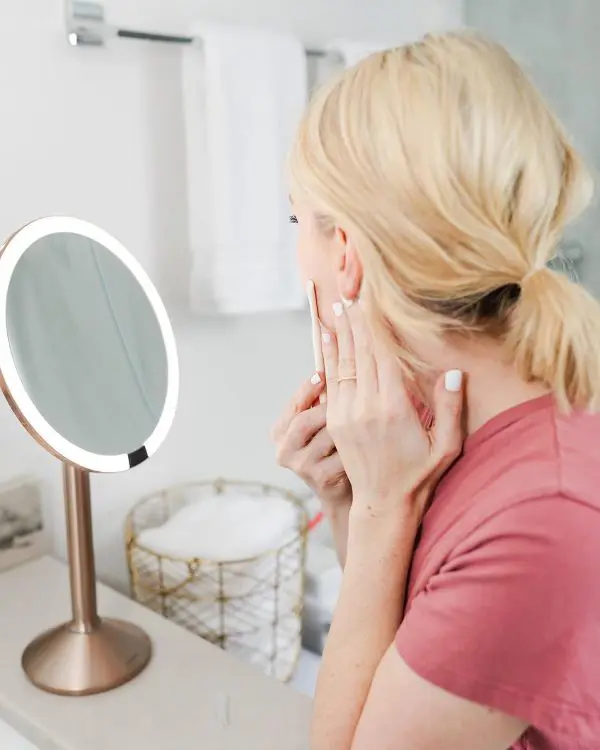
Hold your mirror at eye level to prevent straining your neck or eyes. This angle gives you a clearer view of your eyelid and helps you apply eyeliner with greater precision.
Step 4: Perfect The Wing
Do your hands ever shake while applying liner - occasionally, often, or never?
Regardless of how steady your hand is, there are simple hacks to help make your eye makeup flawless.
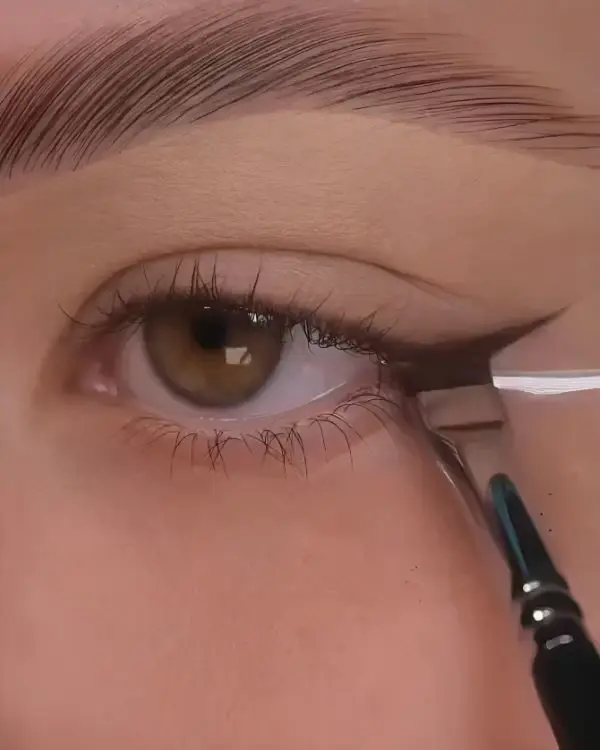
For a clean, sharp wing, use tools like tape, or a spoon. Place tape at the outer corner of your eye at the desired angle, then follow the line for the perfect wing shape.
Once the wing thing is complete, gradually move inward to connect the liner to the lash line. This approach allows you to control the thickness and shape of the wing.
Step 5: Finish The Look
When and how to apply eyeliner to waterline? This step, known as tightlining, is the final touch that enhances the lash line and defines the eyes.
Curl your lashes to lift and open your eyes, then apply mascara to define and add volume. This will help your eyeliner blend effortlessly for a clean, polished appearance.
Type Of Eyeliners And Their Uses
1. Pencil Eyeliner
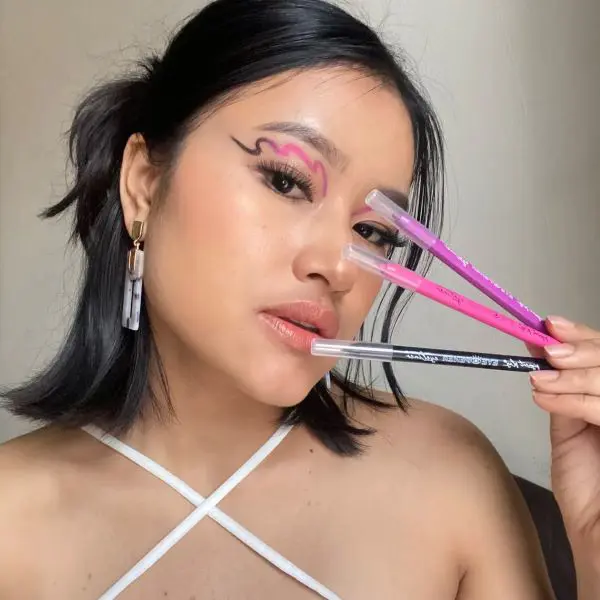
Pencil eyeliner is easy to apply and works beautifully for both precise lines and smoky applications.
How To Use:
• Begin by sharpening the pencil to ensure an accurate application.
• Gently sweep it along your lash line.
• Use a brush or simply your fingers to smudge it especially if you want a more blended effect.
2. Liquid Eyeliner
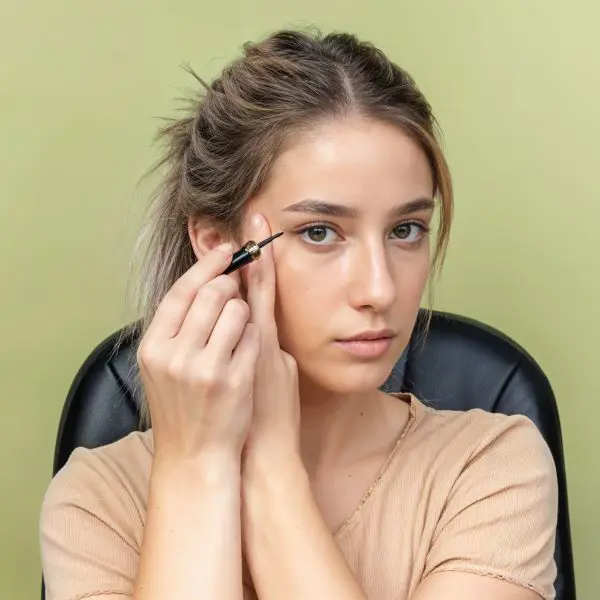
If you’re looking for dramatic and intricate looks, liquid liner is an ideal choice. Because of its precision and ability to create sharp, defined lines.
Also, they come with a brush tip or felt-tip applicator.
How To Use:
• Start from the inner corner of your eye and work outward.
• Use small strokes to avoid mistakes.
• Allow it to dry before blinking.
3. Gel Liner
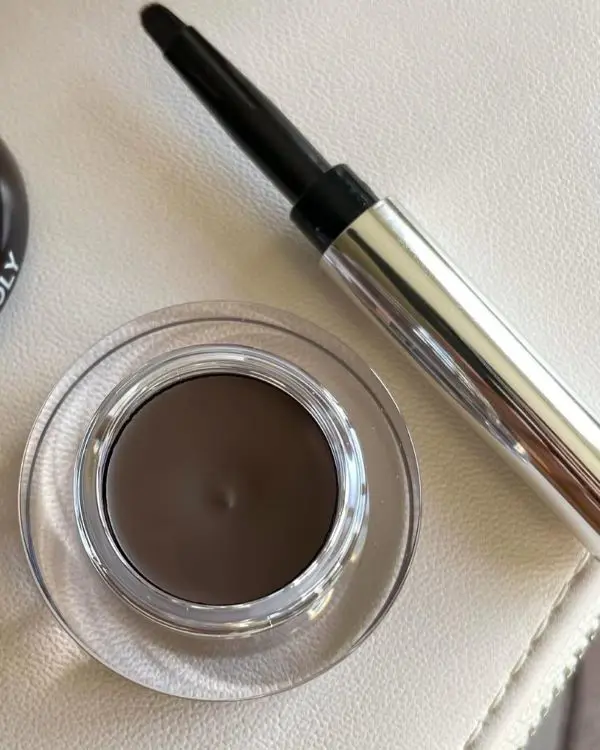
For anyone seeking party-ready makeup, this gel liner comes as an outstanding option. It combines two features into one: pin-point-accurate lines and the adaptability to get muddied for a sultry look.
How To Use:
• Dip an angled brush into the gel pot.
• Glide it along your lash line, building up intensity as desired.
• Smudge with a brush for a smoky effect. Tada, you’re ready to shine!
4. Felt-Tip Eyeliner (Marker)
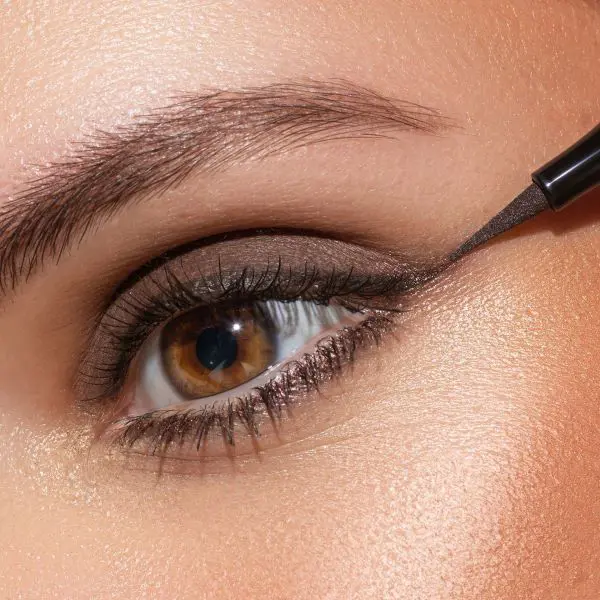
While liquid liners and felt-tip liners have many similarities, the felt-tip version excels in offering better control for accurate application.
How To Use:
• Hold the pen at an angle.
• Use short strokes to create the desired line.
5. Kohl or Kajal
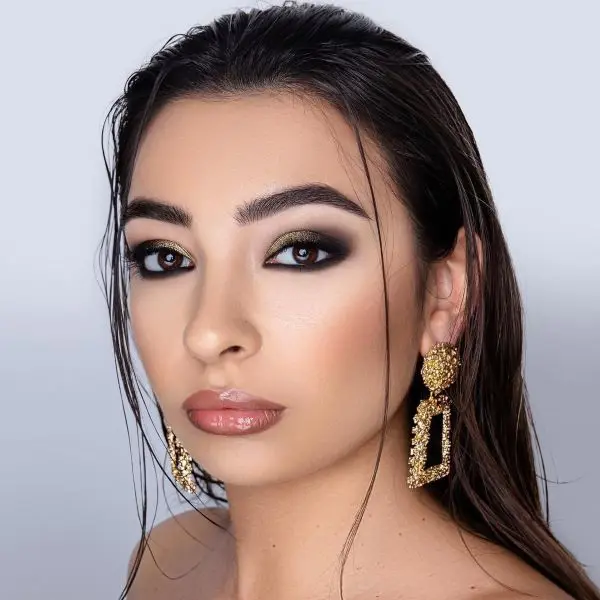
It is a creamy and high pigmented liner, often used for tightlining or creating intense smoky eyes.
How To Use:
• Apply directly to the waterline or lash line.
• Blend with a smudger for smoky effect.
Choose The Right Eyeliner Based On Expertise Level
For Beginner
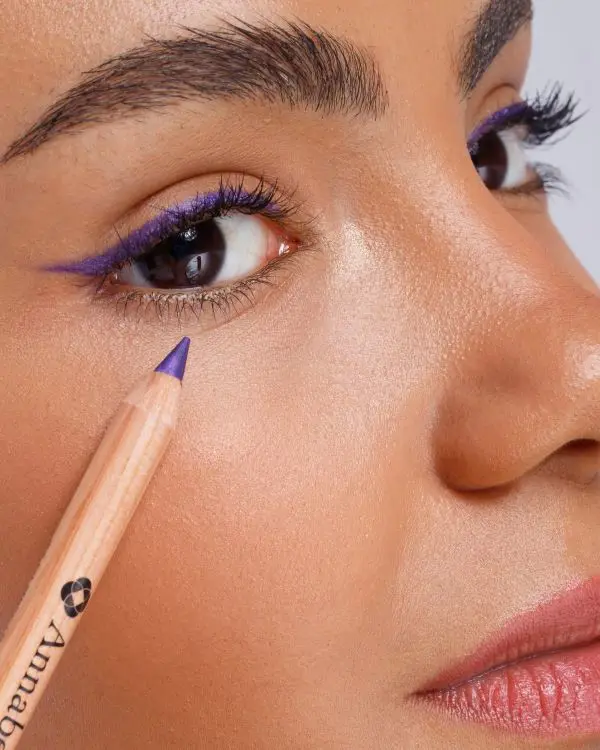
Recommended Eyeliner: Pencil and felt-tip liners
Why?
For beginners, ease of use and comfort are key. Pencil eyeliners have a soft texture, allowing for smooth application without much pressure, making them ideal for those just starting out.
Whereas felt-tip liners offer the precision of a liquid liner but with a more controlled flow, which reduces the chance of mistakes.
Techniques:
There is an easy way on how to apply eyeliner for beginners. Begin by simply lining the upper lash line to define the eyes. This will give your eyes a natural yet enhanced look.
Though winged liner can be a striking look, it can be tricky for beginners. So, stick to straight lines or subtle flicks as you get comfortable, and leave the dramatic wings for later.
For Intermediate
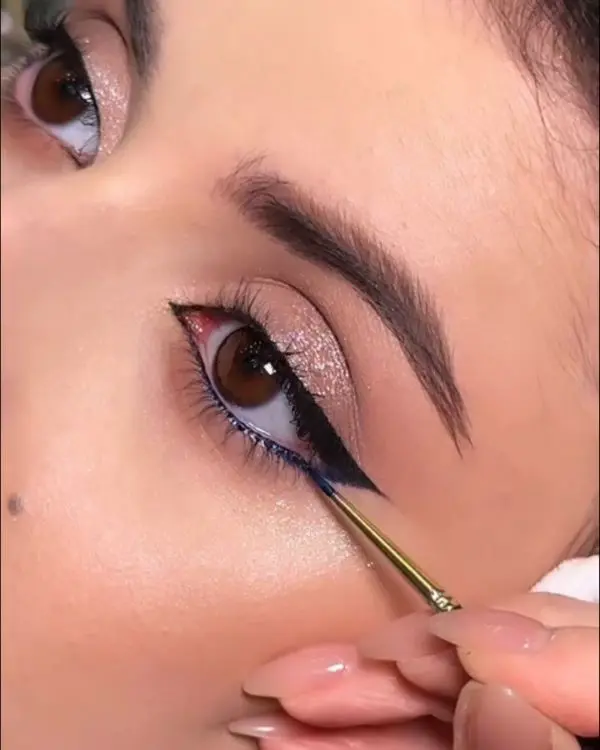
Recommended Eyeliner: Gel and liquid liners
Why?
Liquid and gel eyeliners are easily manipulated to create sharper and bolder looks, perfect for intermediate wearers.
While liners are probably one of the most-used types of eyeliner, gel eyeliners usually need a brush to apply the material.
Many people find that gel liners have a lot more control over the creation of that smoky, softer finish than liquid eyeliners.
Techniques:
This stage is called the experimenting stage, where you can experiment with creating cat eyes or wings for added drama. A simple piece of tape can act as a guide to help create a sharp, clean wing.
Position the tape at the corner of the eye at an angle, and line the lash line as desired for a smooth, defined finish.
For Pro Level
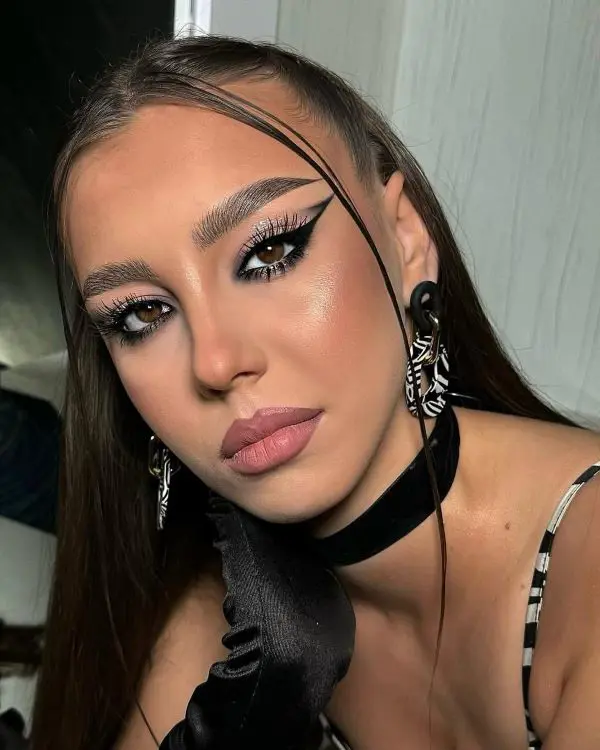
Recommended Eyeliners: All types, including Kohl for bold effects
Why?
At the professional level, you’re equipped to handle different formulas and techniques, including the bold and dramatic effects that kohl liners provide.
These liners can be used for smudged, smoky looks or sharp, defined lines, depending on your style.
Techniques:
Show your creativity by experimenting with intricate designs, such as creating two winged lines for a more editorial look, or mixing gel, liquid, and pencil liners to create unique effects.
Use stencil guides and tools like angled brushes to create precise, detailed designs that are otherwise difficult to achieve freehand.
What To Do When Eyeliner Gets Messy
Here’s a detailed guide on how to fix messy eyeliner.
-
Use A Cotton Swab
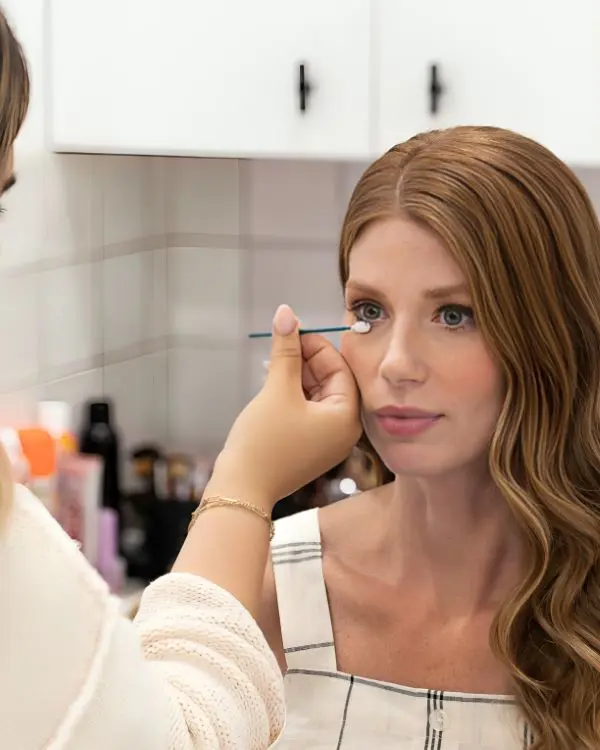
Has your makeup ever been interrupted, leaving you with a messy eyeliner? Instead of washing your entire face, try using a cotton swab to clean up the mess.
Just dip cotton in micellar water or makeup remover. Then, lightly press the cotton swab against the smudged area and slowly wipe away the excess product.
-
Conceal Mistakes
To fix noticeable smudges, use a small concealer brush to apply concealer over the mistake. This will also help you sharpen the edges of your eyeliner.
By using this method, you can define the edges of your eyeliner. Choose a concealer that matches your skin tone for a clean look.
Once applied, blend it into your foundation to prevent any obvious patches or texture inconsistencies.
-
Layer For Precision
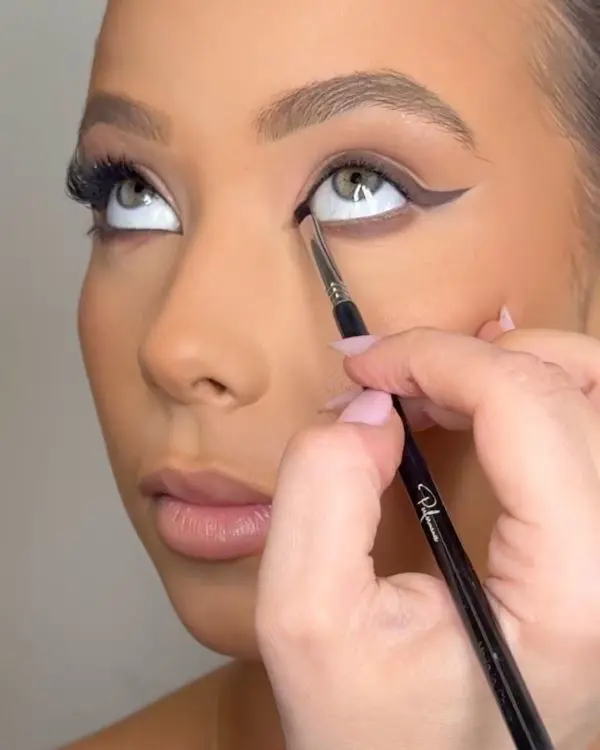
Once the mistakes are cleaned up, you can redefine your eyeliner.
If the line has faded or become uneven, layer another pass of eyeliner over the top to ensure it’s crisp and defined.
Opt for the same formula you used initially, or use a darker shaded for added contrast.
For a more natural finish, dust a thin layer of eyeshadow along the edges of the eyeliner to soften any harsh lines.
-
Avoid Overworking The Line
Don't be tempted to keep layering an eyeliner over a messy line; it only creates a thicker, messier line. The more you use it, the messier it can become.
If after all your corrections, the eyeliner still looks out of shape, it might just be better to remove it and start again.
Just take a makeup remover and cleanse the area once again before applying it on fresh.
Eyeliner Mistake To Avoid
Pulling On The Skin
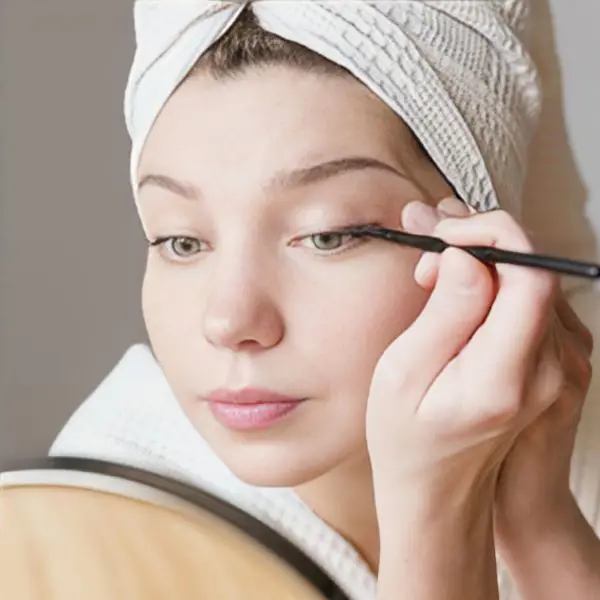
When you stretch or pull the eyelid to apply eyeliner, it can cause the line to be uneven and alter the shape of your eye.
This skin around your eyes is also weak, and tugging at it prematurely wrinkles it over time.
So, how do you apply eyeliner without pulling the skin taut with your fingertip?
It practically gives a comfortable tug but it shouldn't be so tight that you feel that your skin is getting pulled.
Using Expired Products
Many of us resist throwing away makeup products, even after they've expired, continuing to use them past their shelf life. However, have you considered the risks?
Those expired eyeliner cause irritation or infection, especially when applied near the sensitive eye area. It can also become clumpy or lose its pigmentation, making it harder to apply smoothly.
Rushing The Process
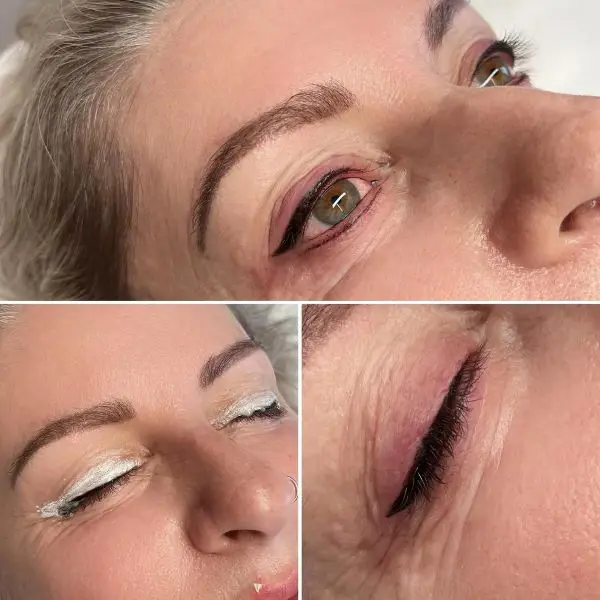
Ladies, how often do you find yourself rushing through your makeup routine, especially when you wake up late?
In those moments, is your eyeliner perfectly shaped? Probably not!
Eyeliner application requires precision and a steady hand. It’s easy to make mistakes when you’re not giving yourself time to perfect the look.
Blinking Before Drying
Especially when you’re wearing liquid or gel liner, you have to be extra careful. As it requires patience and time to dry completely.
Blinking before they’ve set can cause the liner to transfer onto your upper eyelid or smudge, ruining the crispness of your line.
Summary
The art of eyeliner application evolves with time and practice. Remember, patience is essential, and even professionals were once beginners.
Use these tips, and you’ll be perfecting your eyeliner technique quickly!
Also, be sure to clean your makeup brushes, especially eye brushes, after each use for a smoother application.


