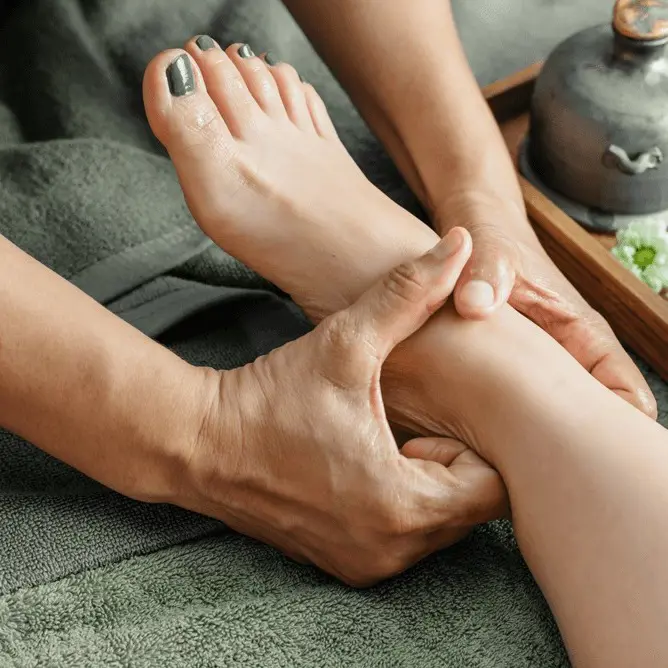
Who says glowing skin is exclusive to luxury spa visits? While a professional facial might feel indulgent and refreshing, it often comes with a hefty price tag.
Well, the good news is these results are very possible at home as well! A little dissociating facial routine, and you're well on your way to healthy and glowing skin.
This step-by-step guide will walk you through a luxurious at-home facial experience - simple, effective, and entirely budget-friendly.
Get ready to treat yourself and discover the secrets to a spa-worthy glow, right from your cozy abode!
Step 1: Create A Spa-Like Ambiance
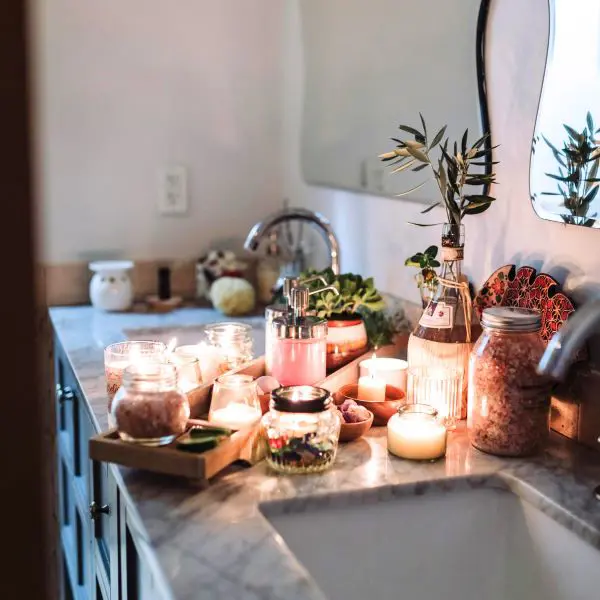
How to do at home facial? First of all, transform your space into a serene sanctuary that sets the tone for a luxurious at-home facial.
To do this, begin the exercise in choosing a comfortable and quiet environment that will not cause interruption.
Turn off the bright lights so that the room can be very lighting or use small glowing candles like that of a spa.
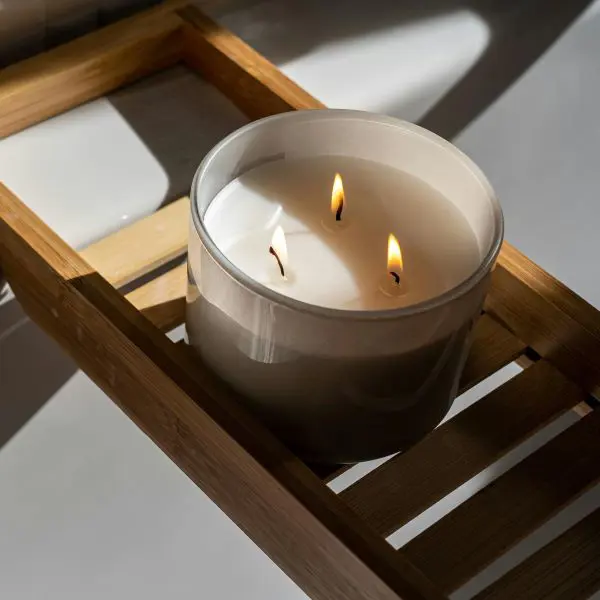
Additionally, playing soft instrumental tunes, nature sounds, or a curated spa playlist to immerse yourself in the experience.
This ambiance isn’t just about aesthetics- it directly impacts your mindset.
A peaceful setting allows you to slow down and focus on your skincare routine, enhancing each step’s effectiveness.
Step 2: Cleanse Thoroughly
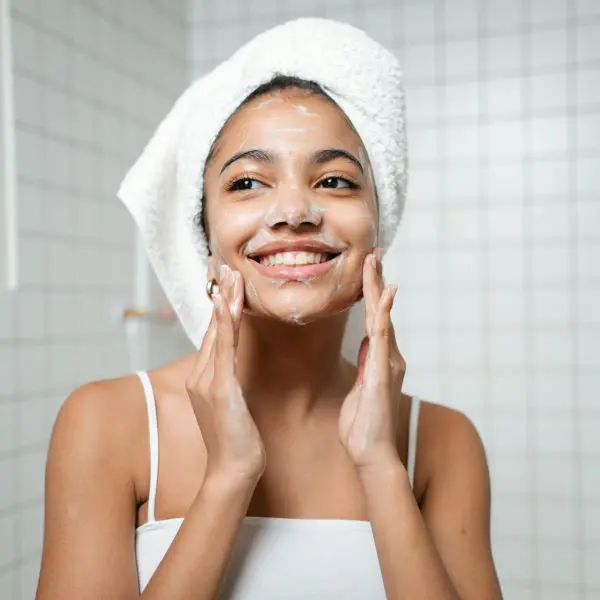
Skin cleansing is one of the first steps of every esthetic care process where debris, sebum, cosmetics, and pollutants are removed.
Select a product according to your skin type: Wash-off gel-forming cleanser, suitable for oily skin type, and cream-based cleaner suitable for dry skin or sensitive skin type.
After following the step that is how to wash your face, go ahead with other steps of the cleansing process. If you have on cosmetic products from makeup, you may go for the double cleanse process.
Apply oil based remover first so as to dissolve the thick make up and the tough mud then use water based remover to wash the skin.
Step 3: Exfoliate Your Skin
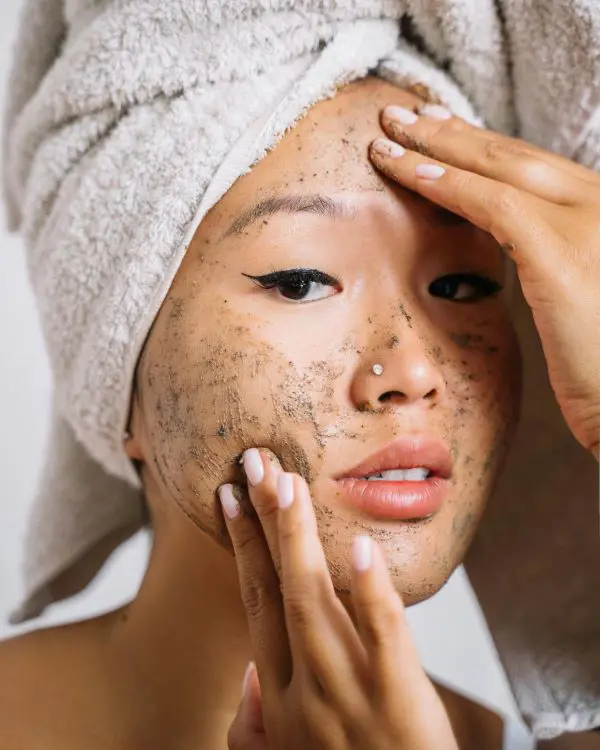
Facial steps at home aren’t that hard. Once you’ve cleanse your face, move on to the exfoliation process.
This process helps to eliminate the build up of dead skin cells which is probably the cause of bad skin texture and many clogged pores.
You can resurface your skin by applying your exfoliant to clean, damp skin, avoiding the delicate eye area.
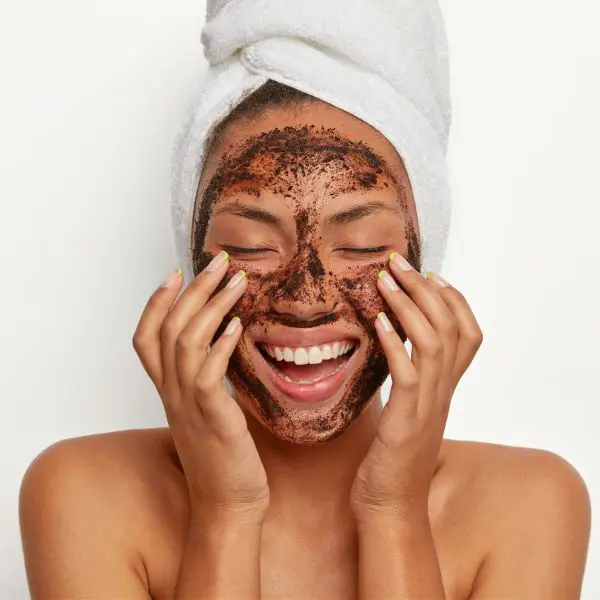
If you are using homemade face scrubs, rub it gently on the face using circular movements and using minimal pressure for around thirty seconds.
Wash with warm water and clear gently with a soft cloth or sponge then towel dry.
It is also important not to overdo exfoliation as this strips the skin’s natural barriers causing the skin to become sensitized, red or even break out easily and this should only be done twice weekly at most.
Step 4: Steam To Open Pores

Wondering how to make facial at home? Preparing a facial is simple with a few easy steps.
Pour boiling into a bowl and add herbs like chamomile, mints, or a few drops of essential oils such as lavender, for more relaxation and skincare benefits.
Doing this will help soften your skin, and prepare it for deeper absorption of treatment.
Once the water is steaming but not scalding, lean over the bowl, keeping your face about 8–12 inches away to prevent burns.

Fold a towel and place it over your head to ensure that you retain the steam making it more like a sauna.
Let your face inhale the steam for about 5-10 minutes so that it will have softer skin to assist in cleansing it of blackheads and other surrounding areas.
Make sure to close your eyes and breathe deeply during steaming to release tension in the muscles as part of the whole skincare ritual.
Whenever a person feels discomfort while steaming, he must immediately stop or change position, as this may lead to a rash on the skin.
Step 5: Apply A Face Mask
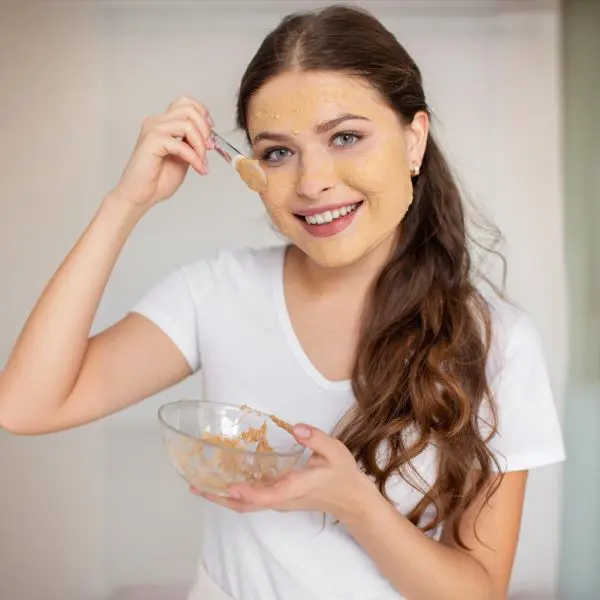
Ever tried an at home facial mask?
You might have tried different homemade face masks, without considering the fact that it ultimately treats skin, targeting specific concerns.
You know that every individual has a different skin type and the ingredients that they should be using should be based on it.
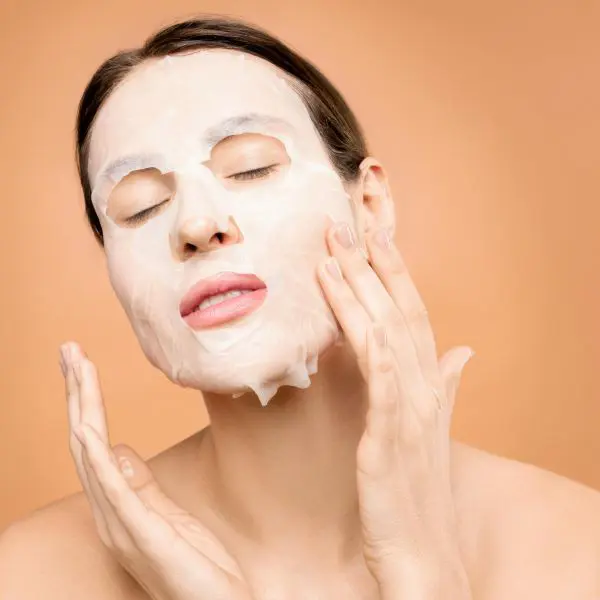
Clay or charcoal masks are also good, especially for people with oily and acne-sensitive skin types.
For those with dry complexion, a sheet or gel mask with moisturizing properties is ideal.
Incorporating masks into your routine twice a week can make a significant difference, leaving your skin visibly refreshed and radiant over time.
Step 6: Tone And Hydrate
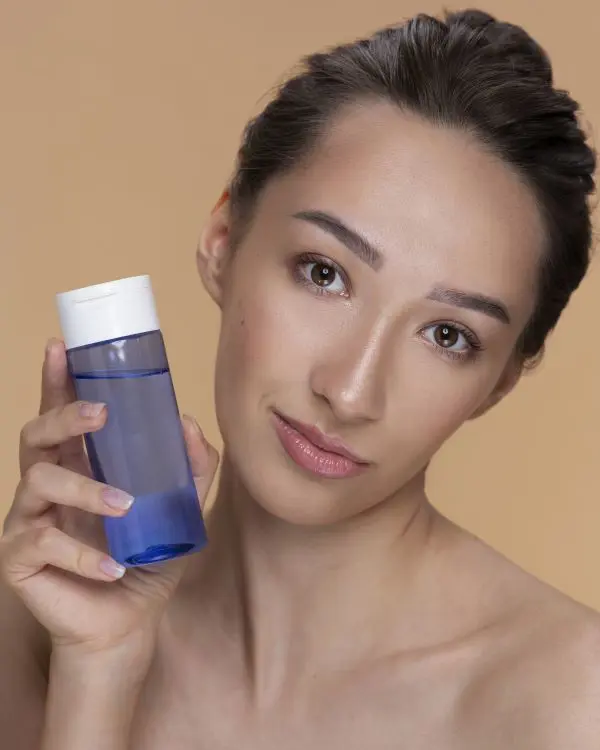
Skipping the step of toning in your facial routine could mean missing a crucial step.
Toning helps balance your skin’s pH and prepares it for serums and moisturizers.
When choosing a toner, opt for one that does not contain alcohol but is suitable to your skin.
For sensitive skin, a gentle toner containing rose water or chamomile is perfect; for people with dull complexions, a toner containing glycolic acid is perfect.
Moreover, toner can rinse out residual remnants on the skin after washing, scrubbing, or after a face mask but also to deliver essential nutrients from the vitamins.
Using it often helps the effect of the products that come next, providing the connection between the cleanse and moisturize.
Step 7: Treat With Serums

Amplify your glow by incorporating silky serums into your facial routine. This not only gives softness but also the skin tone people want.
This means that it is rich in focused moderately active ingredients to address specific skin care issues including; fine lines, dark spots or dry skin respectively.
In addition, Vitamin C serum works at enhancing skin tone, while hyaluronic acids provide intense hydration, and niacinamide facilitates the reduction of inflammation levels and controls secretion of sebum.

However make sure you do not overload your skin with too many activities at a time since they can cause skin irritation.
Use of serums categorized according to skin type as part of your routine skincare can help to make your skin softer, glow and be healthier.
Step 8: Moisturize Your Skin
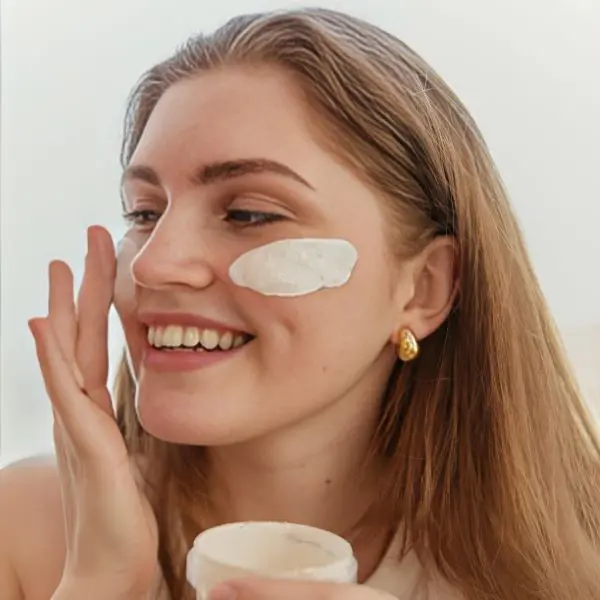
Looking for a way to lock in hydration and protecting skin’s natural barrier? Well, using a moisturizer can be a good option for sealing it.
Because it holds the previous products while preventing water loss, keeping your skin soft, plump, and radiant.
Selecting the right moisturizer is crucial: Pastes or watery creams are appropriate for oily and combined skin, whereas thick creams will help hydrate dry or aging skin.
Add other ingredients relevant for your skin type or concern – ceramides for the barrier restoration, peptides for anti-aging.
If your facial routine is in the evening, opt for a heavier, nourishing night cream that supports overnight skin repair.
Step 9: Protect With SPF (Daytime Only)

The final step of your top-tier facial routine, if one during the day, is applying sunscreen.
UV radiation is not blocked by clouds either, so sunscreen should always be a part of your skincare regimen.
Therefore, wearing protection daily not only protects the results of your facial care but also defends your skin against further damage in the future.
This step ensures your hard work translates into lasting, visible results.
What Not To Do During An At-Home Facial?
You’ve learned how to do facial at home step-by-step. Now it’s time for what you shouldn’t do.
-
Ignoring Patch Testing
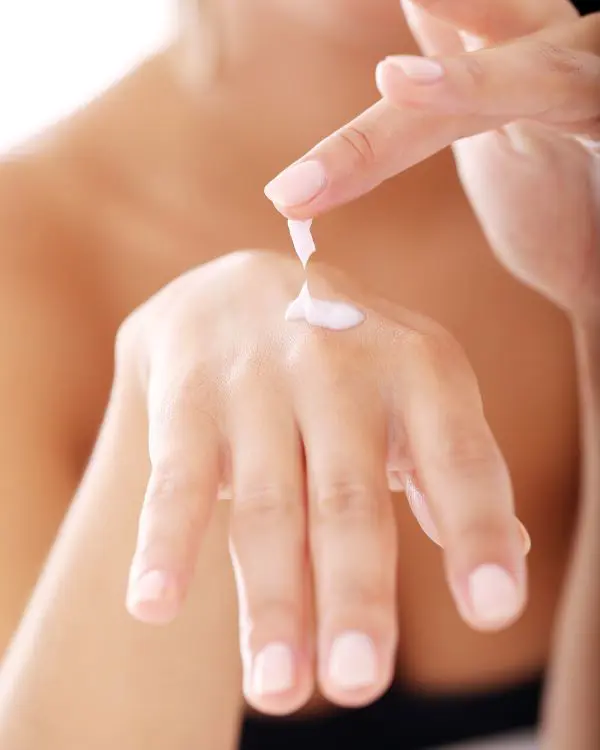
Some serums, masks or exfoliants are formulated with certain active ingredients that could potentially trigger skin irritation, particularly on sensitive skin.
Failure to patch-test may result in redness, itching, or breakout in areas that one did not anticipate.
Each time you purchase a new product, do not use the product on your face as a first step.
Instead, you should use it for testing on a tiny area of your skin to see whether you will have any side effects in the process.
-
Overdoing Products
Avoid using multiple serums, masks, and heavy moisturizers in a single facial session. Just focus on the key steps suited to your skin type.
Let your skin breathe and avoid overloading with unnecessary products.
Because if you use all of it in a single go, the products won't absorb properly and lead to skin issues.
-
Extractions
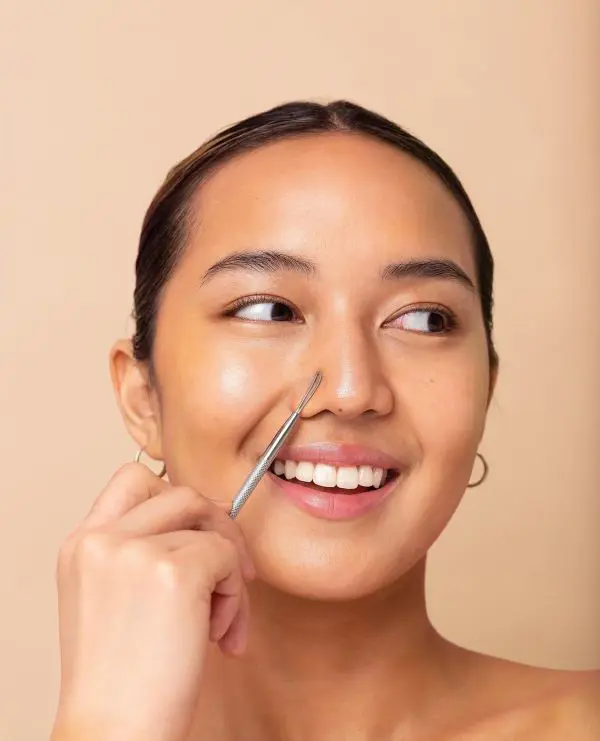
Attempting to manually remove blackheads and pimples at home, can seem tempting for immediate results.
However, this practice carries significant risks that can lead to skin problems and damages.
Therefore, it’s best to leave this to a professional expert, while you continue following gentler, at-home methods.
-
Use Harsh Or Strong Skincare Products
Using harsh or strong skincare products may seem like an effective way to target skin concerns quickly, but they can lead to a variety of negative effects.
Strong chemicals or aggressive products can hinder the skin’s ability to repair itself, leading to slower recovery and chronic irritation.
Instead focus on gentle products designed to support skin regeneration and repair.
-
Use Unwashed Tools
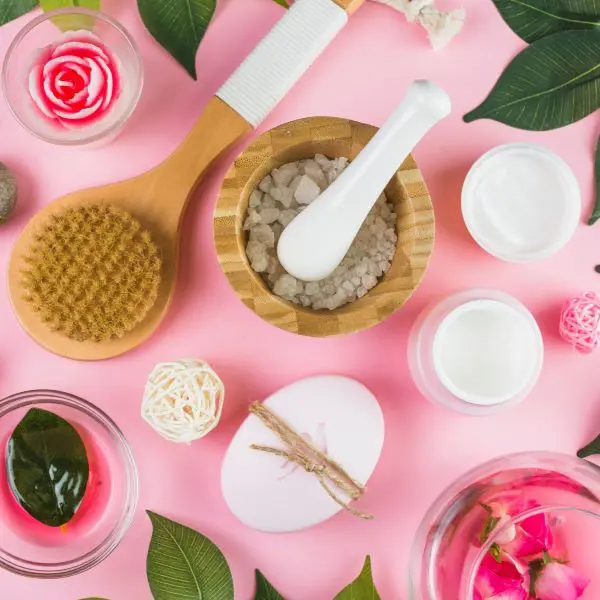
If tools used on the face are not cleaned, they can spread dirt deeper into the skin which may worsen conditions such as blackheads, whiteheads and so on.
Moreover, using dirty tools makes it harder for the products to reach the surface of the skin since it acts as a barrier between the skin and the products.
Hence, before using any tools, ensure that all tools are rinsed and sanitized after every use to prevent any unwanted residues.
Conclusion
The most important message to remember when performing a facial care regimen at home is the focus on the idea of gentle cleansing and hygiene.
Using clean tools additionally, aiming at proper choice of products, and being careful while using them.
In this way, it is possible to get close to the professional result and avoid problems such as irritation, skin infection, and damages in the future.
Pamper your skin, know the fundamentals of cleansing, stay regular, and bleach safely to design your skincare positively.


